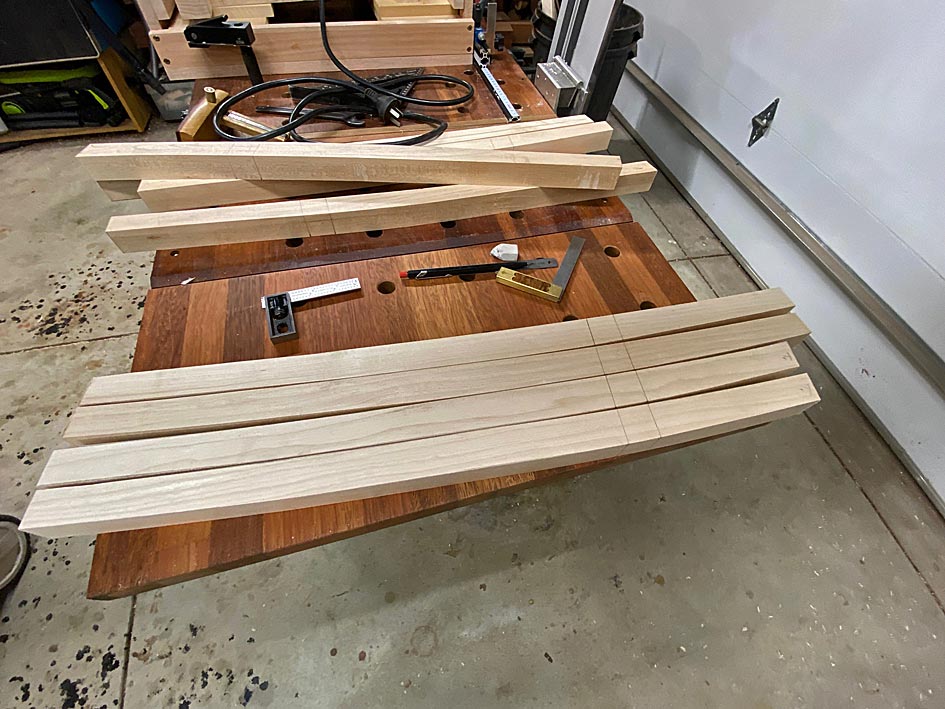
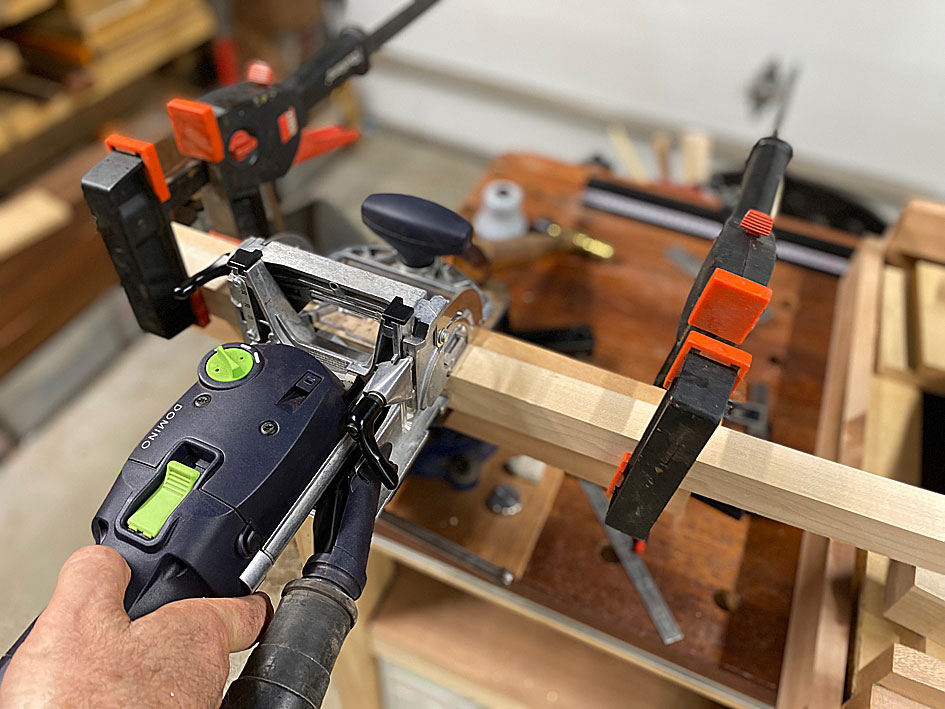
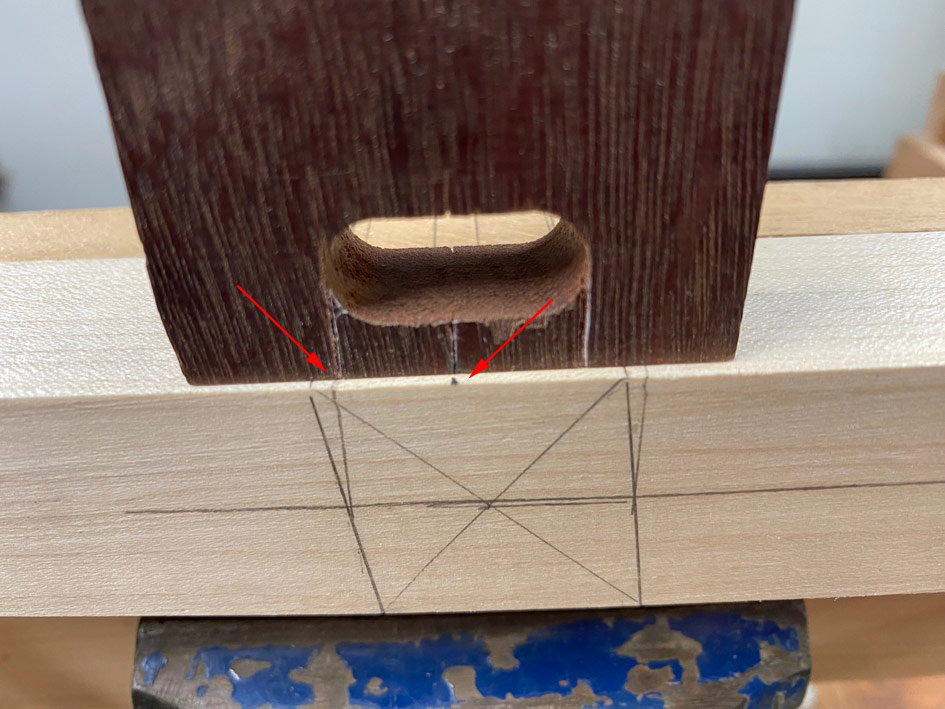
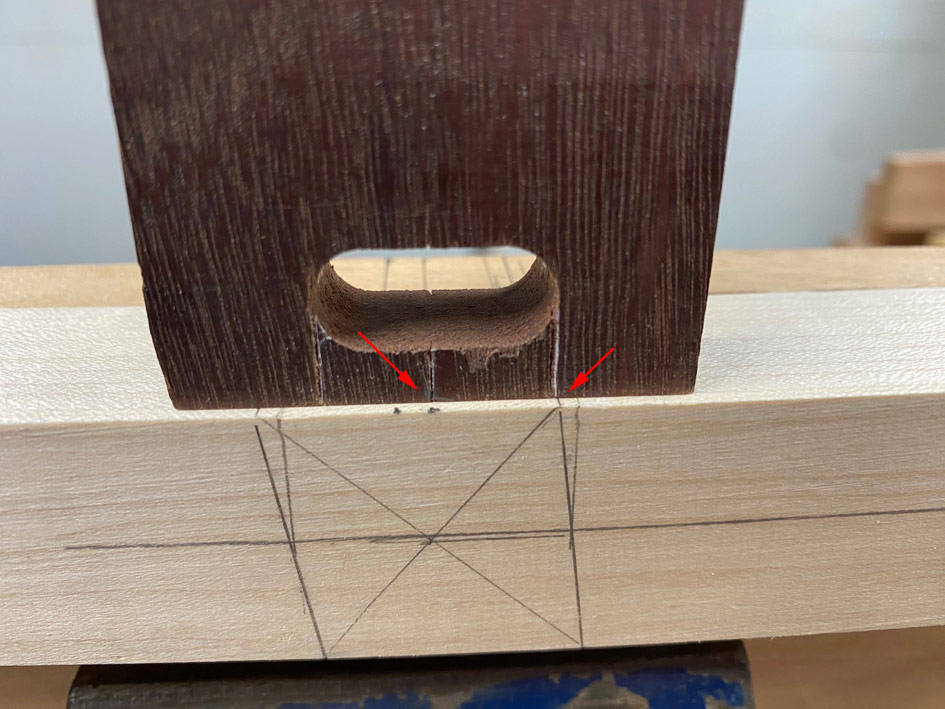
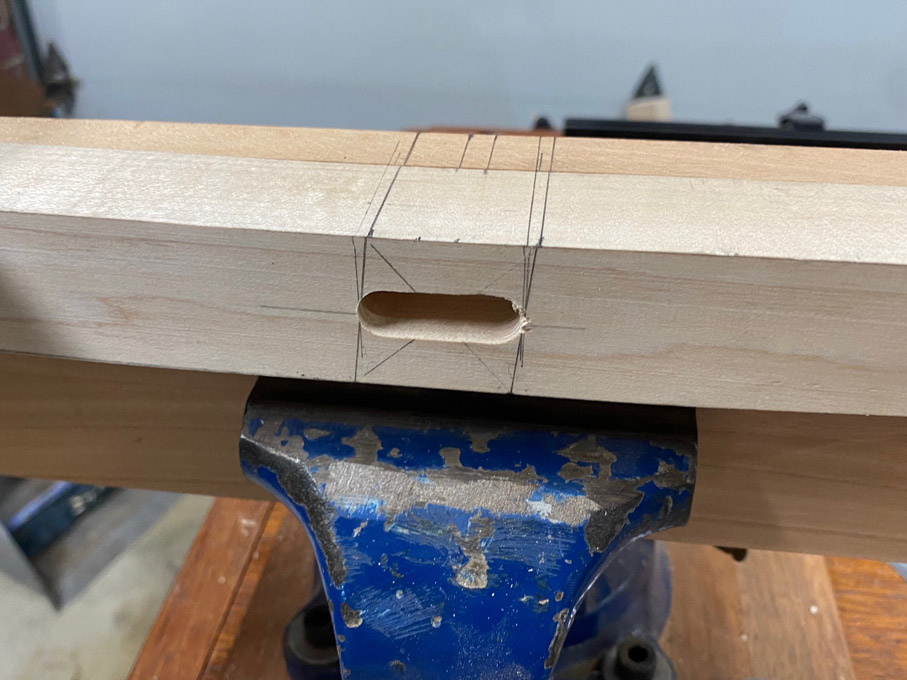
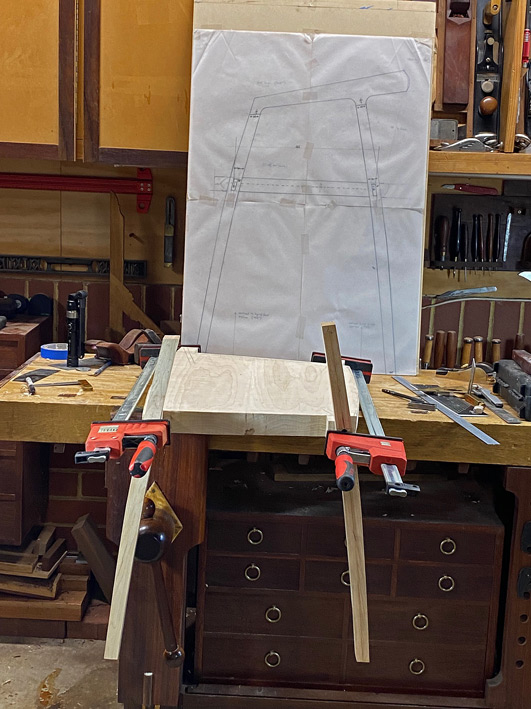
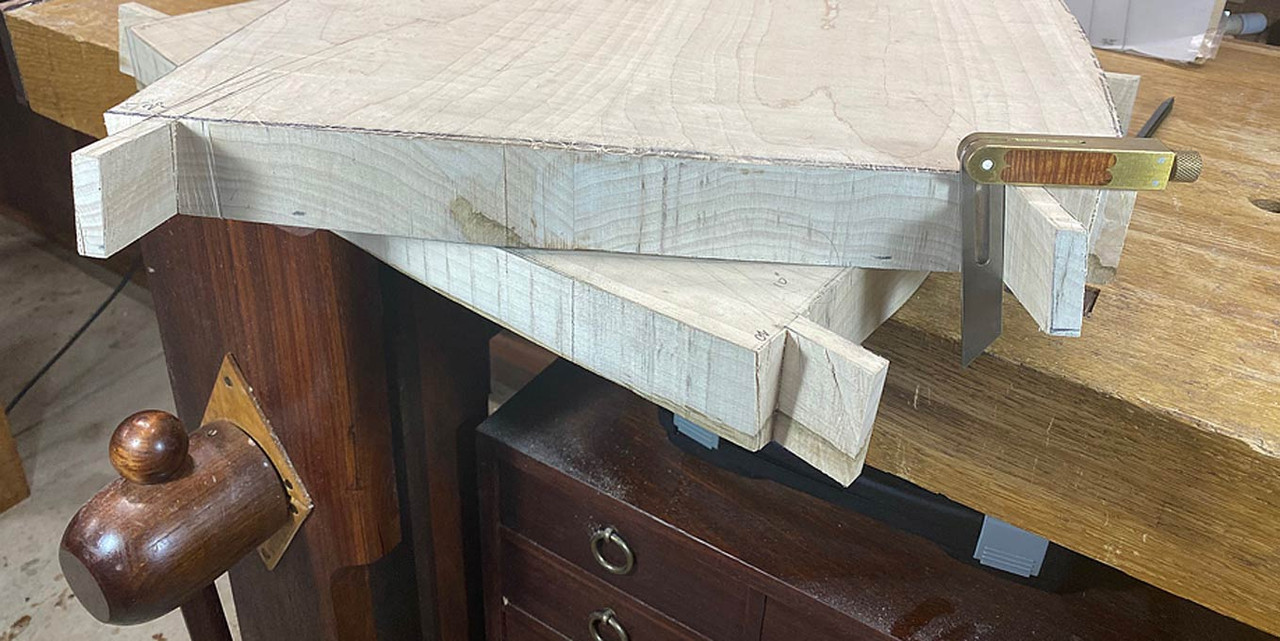
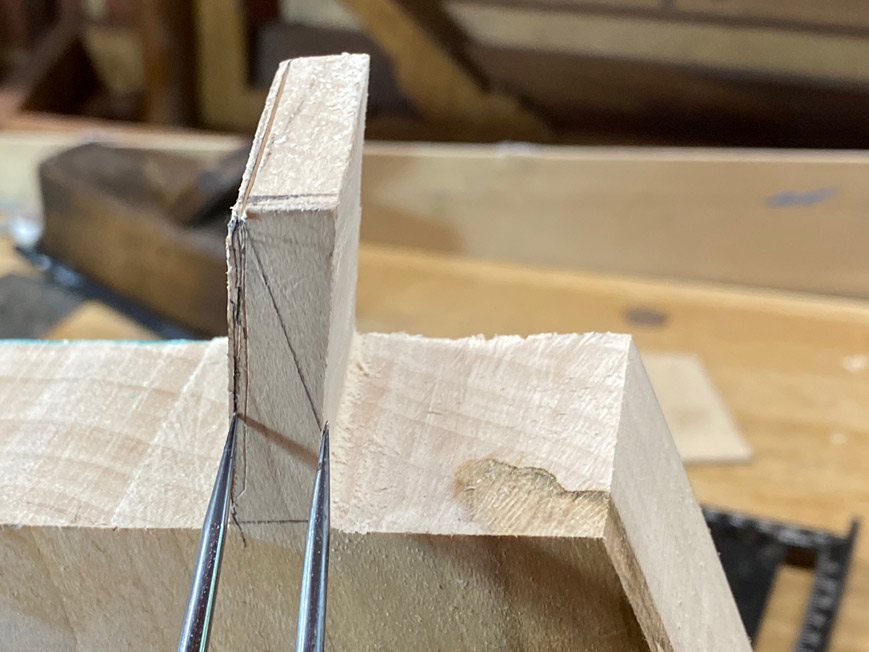
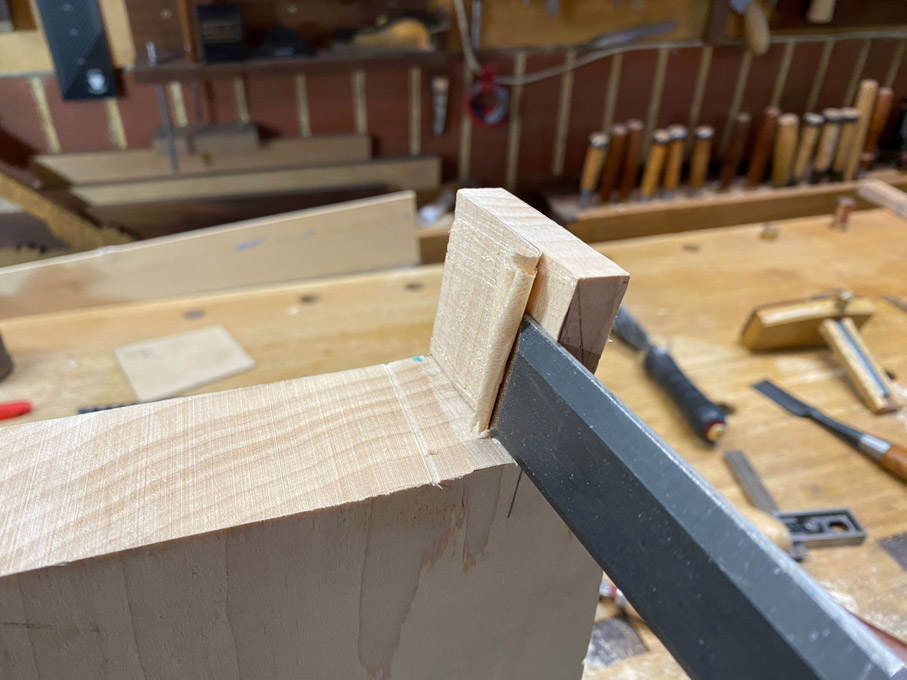
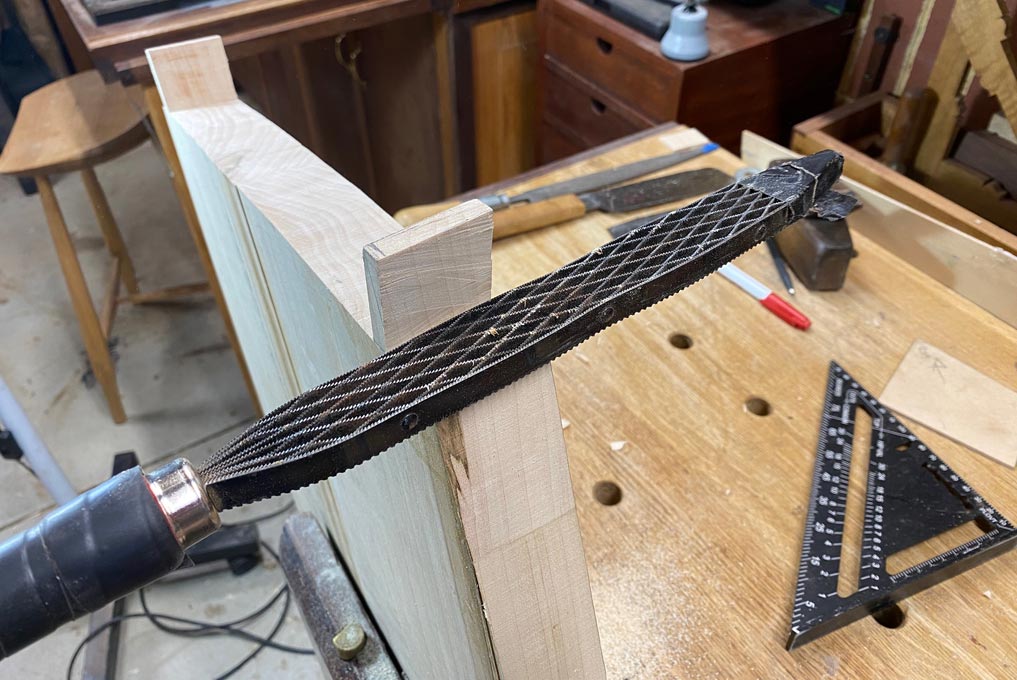
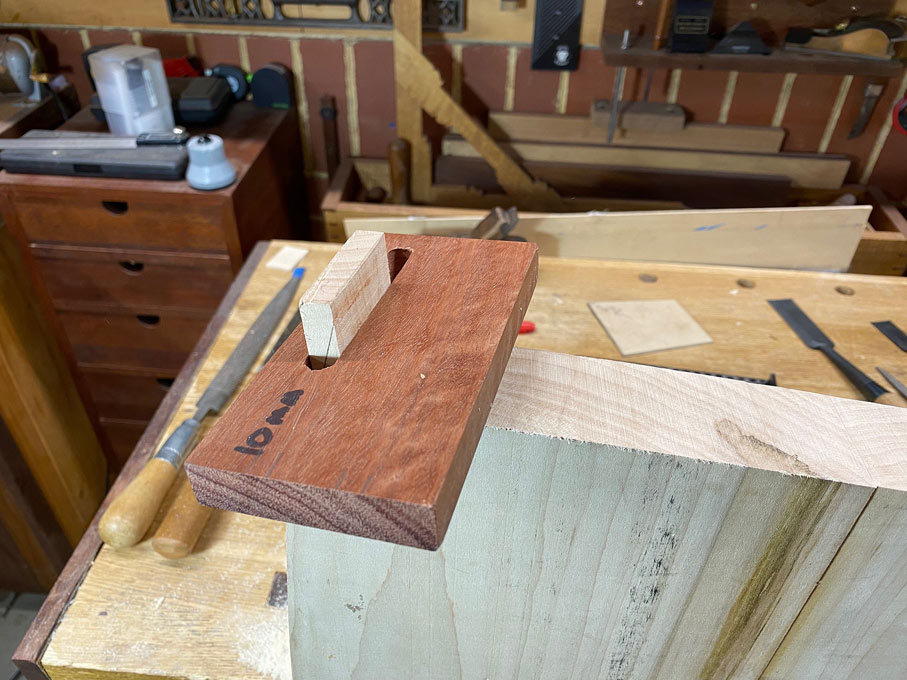
Thanks Mark. My plan for the mortices is to use the Domino to excavate half-way from either side. This is why the guidelines are so important, and why keeping all square is necessary. I shall make a "holder" to ensure the Domino is positioned repeatedly. This is for later, but before the legs are shaped from square to round.
The question I have is whether to keep the ends of the mortices round, or square them off? Square ends make for easier square (hand cut) tenons .. integral to the seat), but round ends will look better - in keeping with the round legs.
Regards from Perth
Derek
Added later 1 d 16 h 02 min 31 s:
Shaping the legs have been set aside until the seats are carved. Shaping the seats is a challenge I have been looking forward to, but I must admit that two days have passed, and there is not much to show for a lot of effort. Let's have a look at the design of the seats.
The notable feature of these chairs is that they do not have a single straight line. Anywhere. There are three design aspects ...
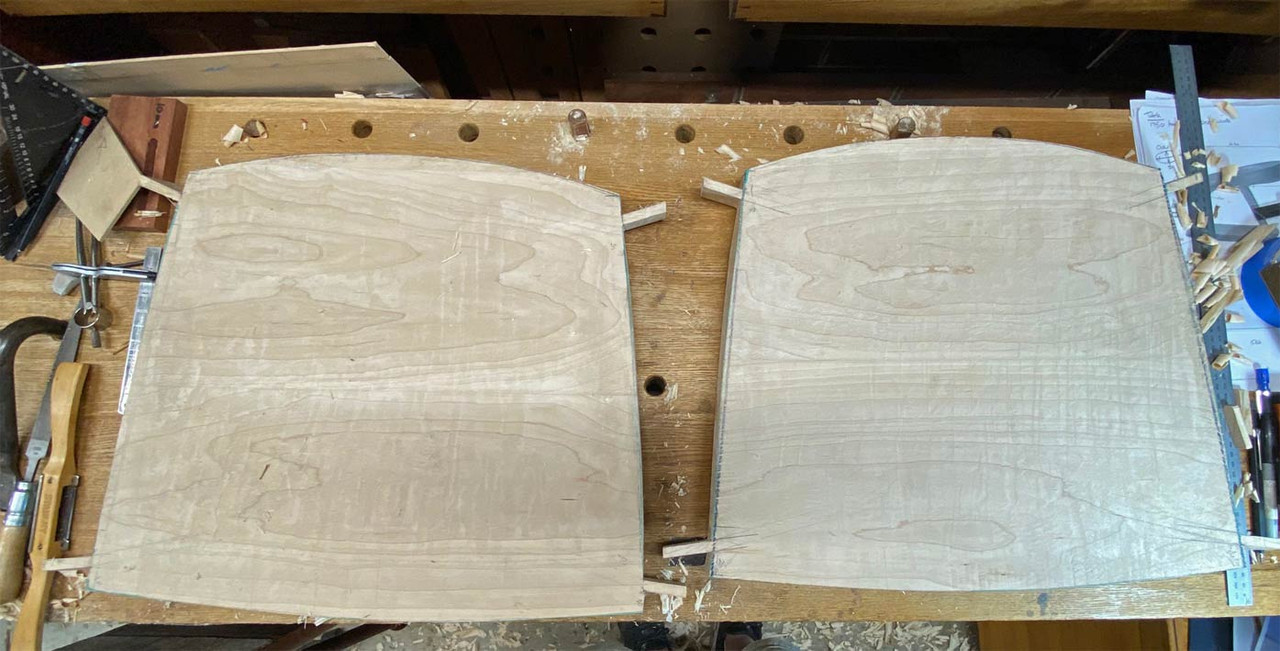
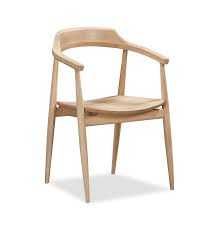
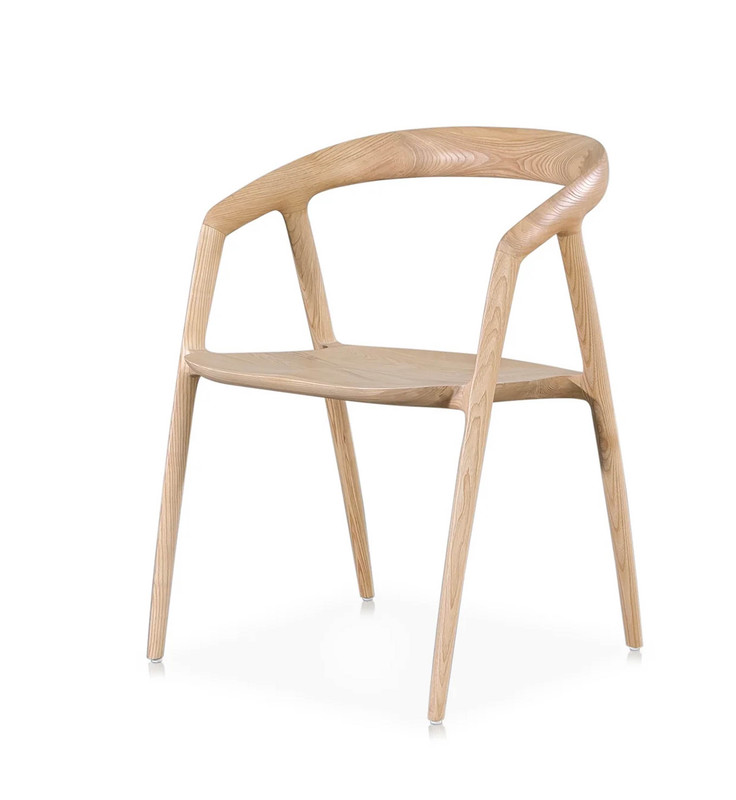
Firstly, the plan for the seats will be curved like these ...
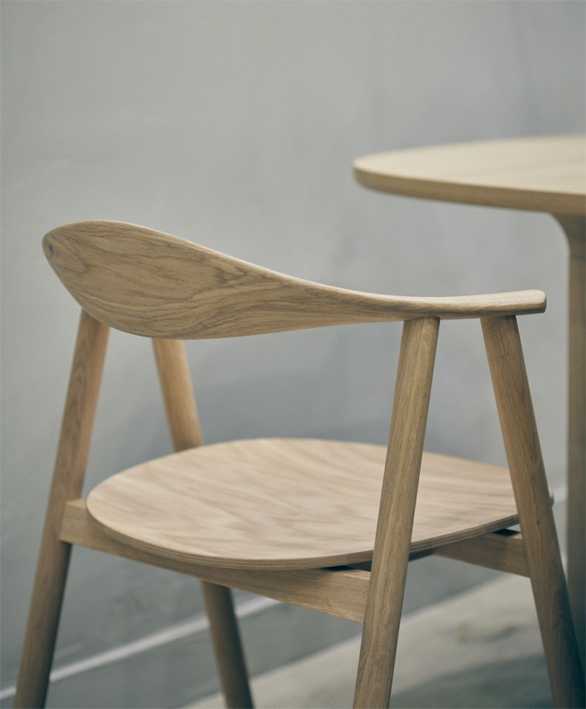
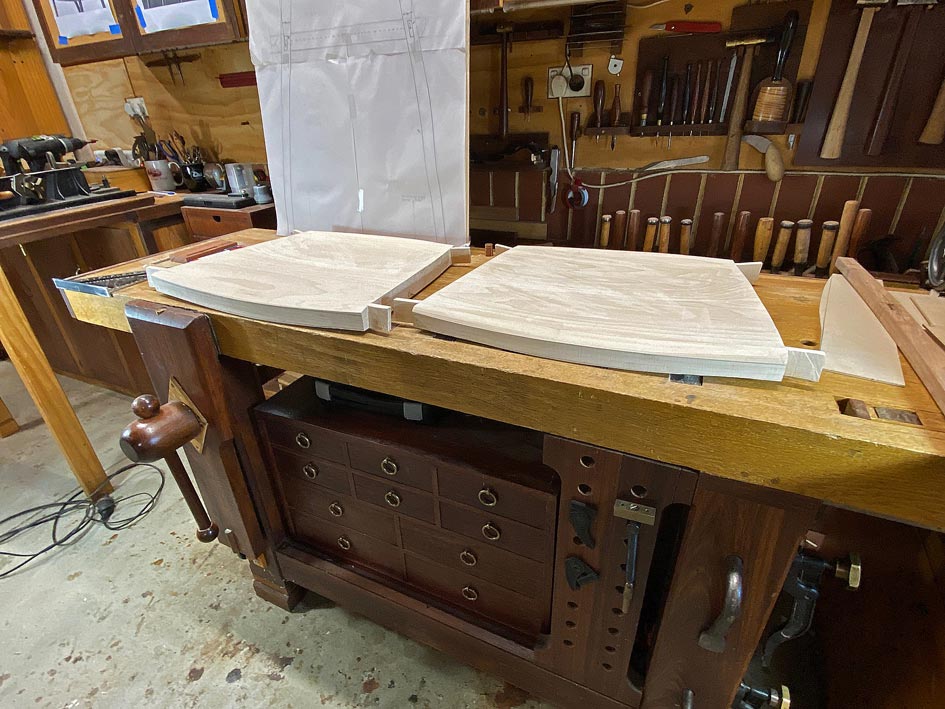
However, they are to be 35mm high at the sides, and recessed like these ...

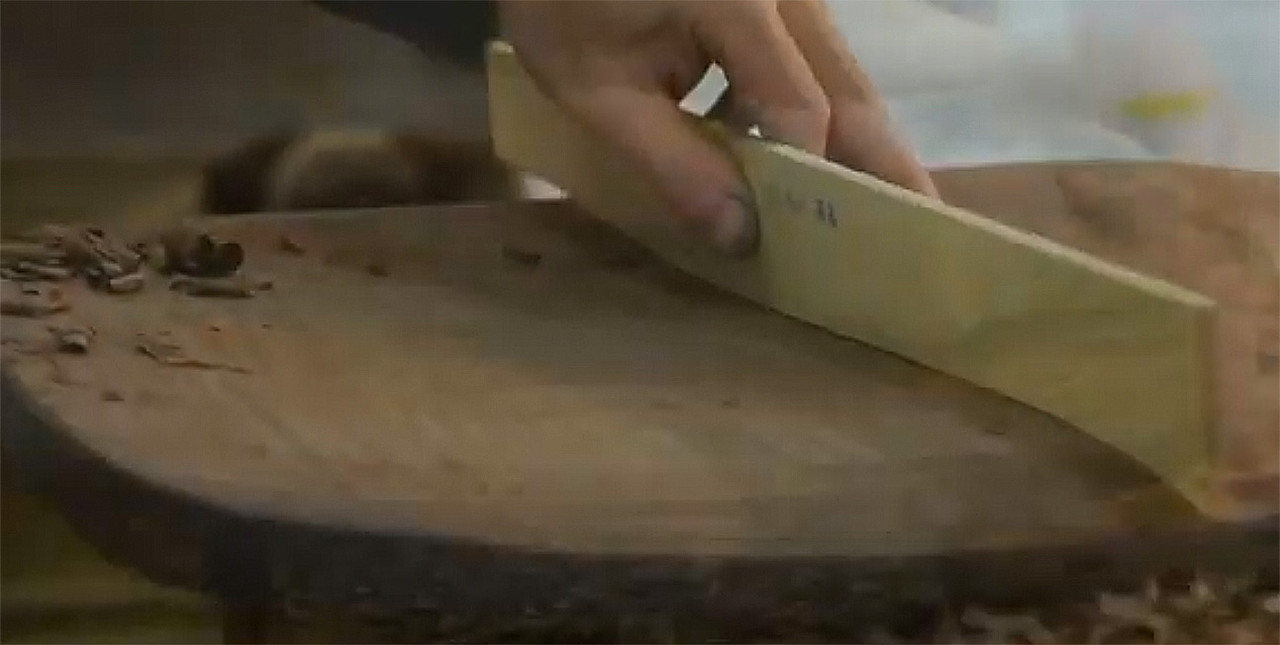
The underside must curve sympathetically with the seat ...

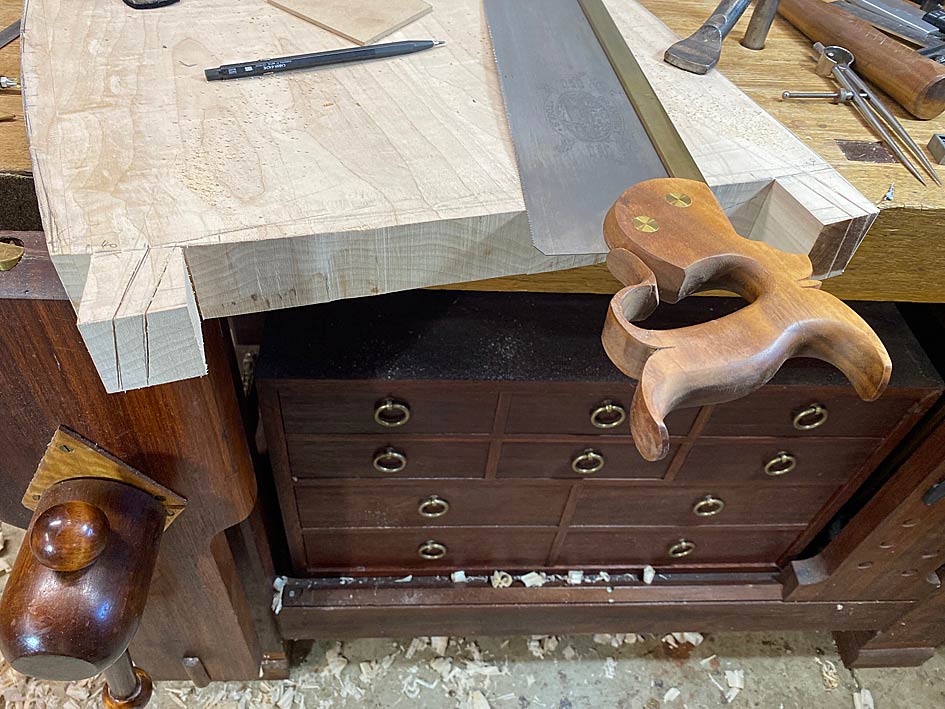
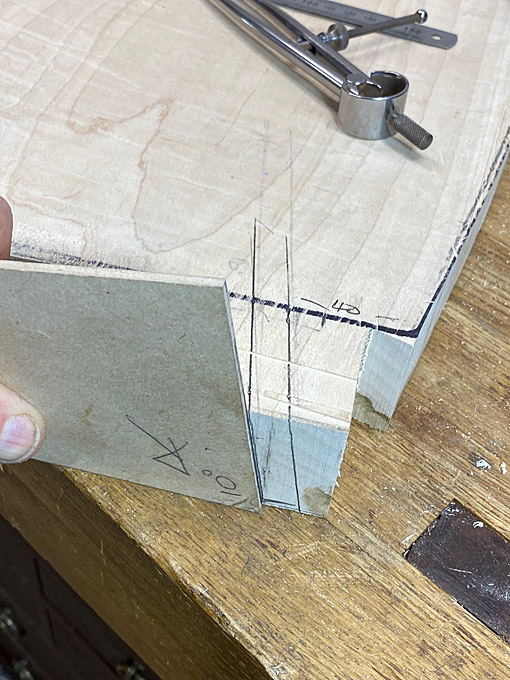
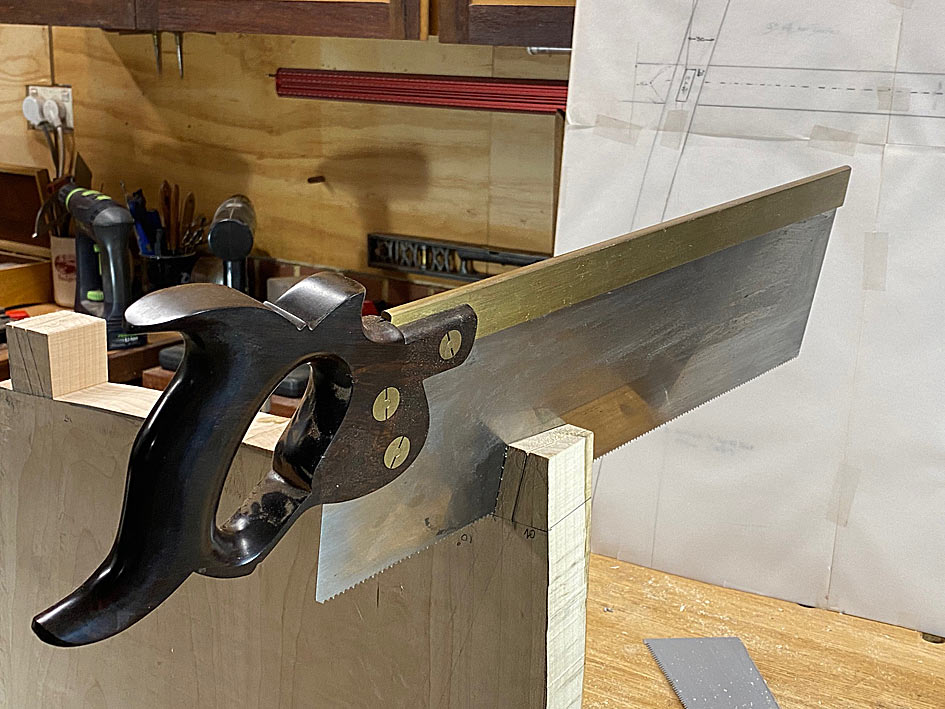
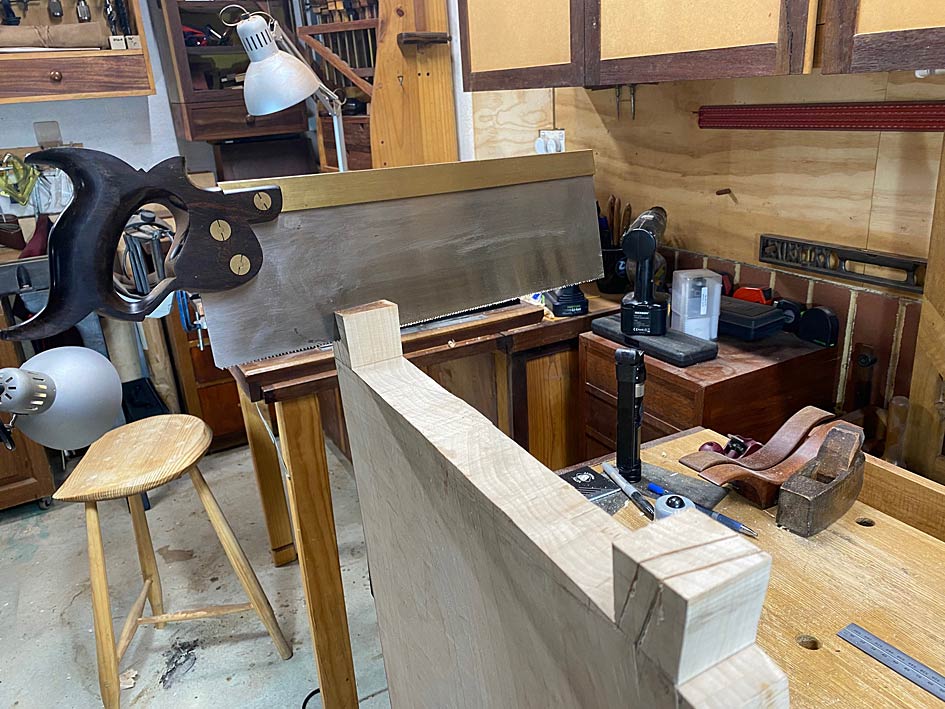
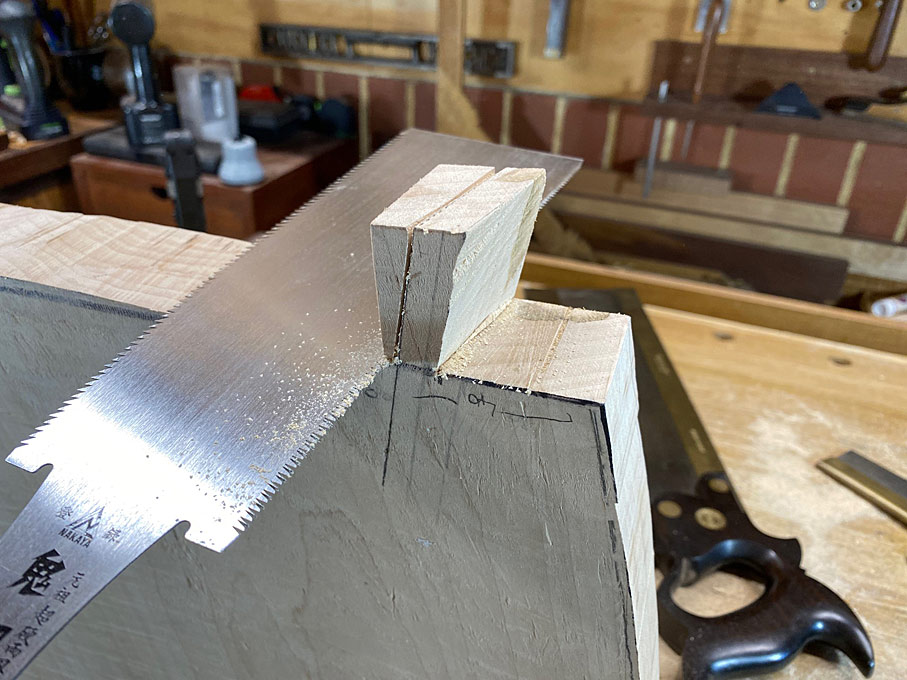
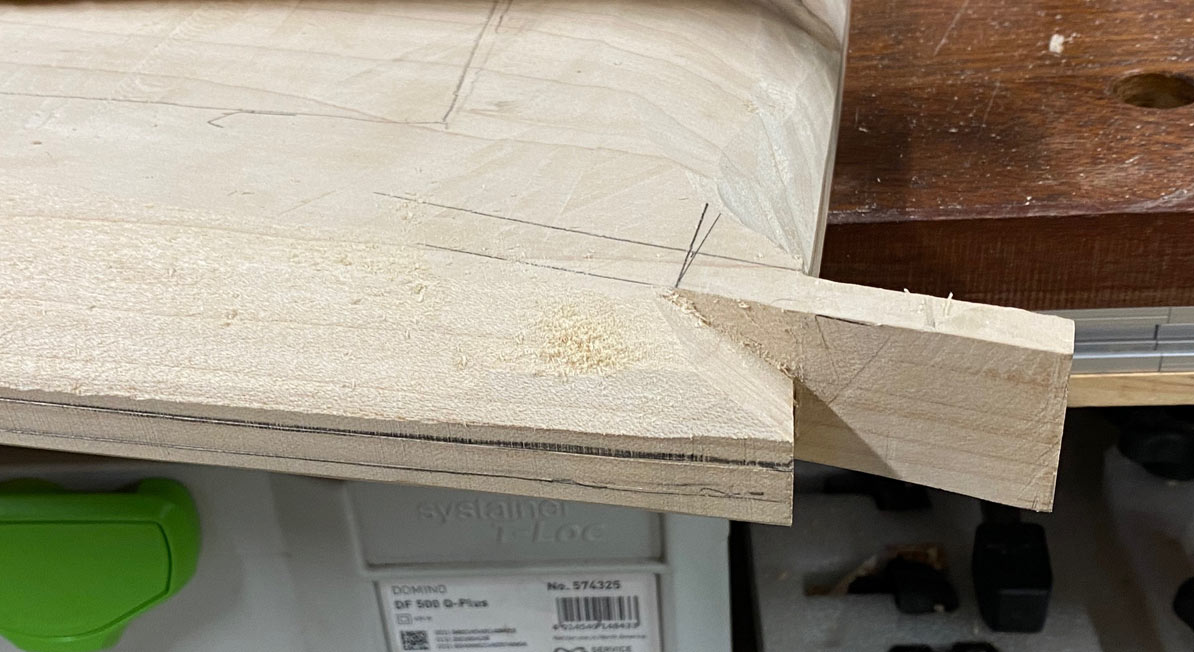
The third factor is that the seats will be attached to the legs with mortice-and-tenons, and will not rest on stretchers, as most chairs appear to do (and seen in an example, above). The reason for this is to increase the appearance of lightness. Shaping of the seat has to make provision for the integral tenons.
The seats are to be shaped with a combination of power- and hand tools. Power is needed .... this is Rock Maple!
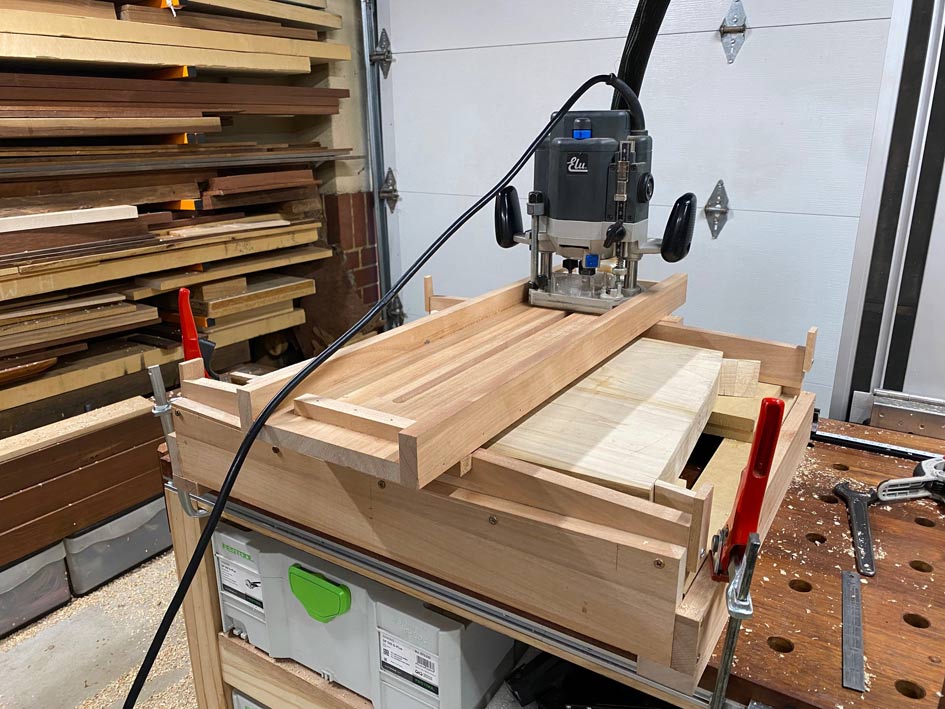
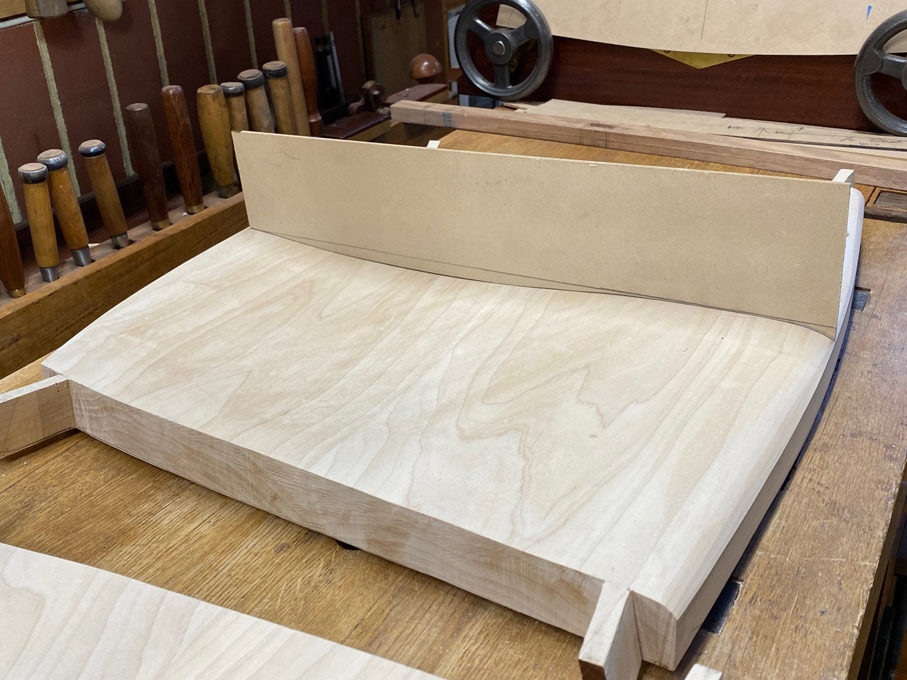
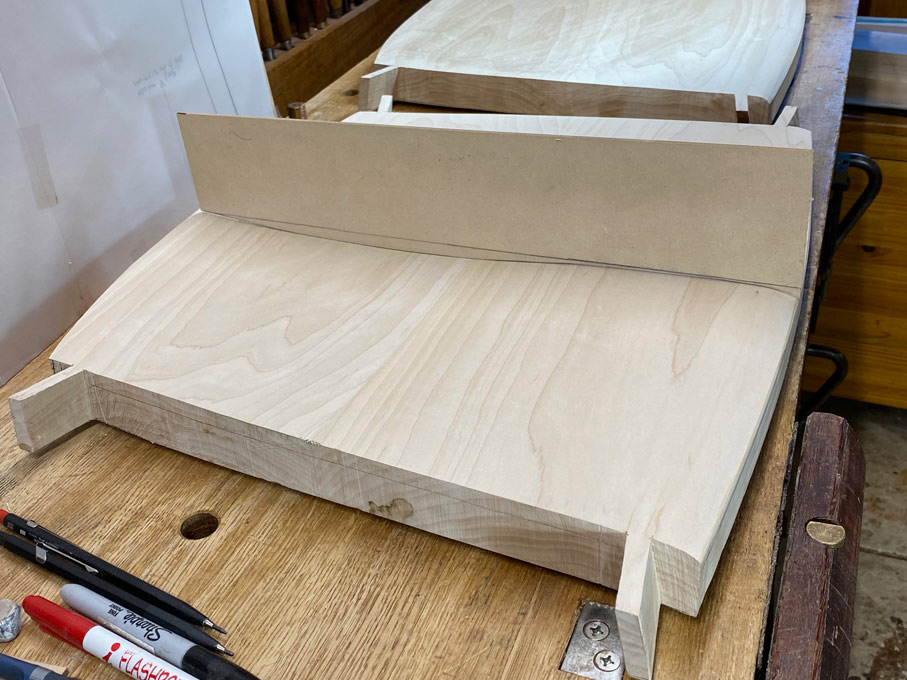
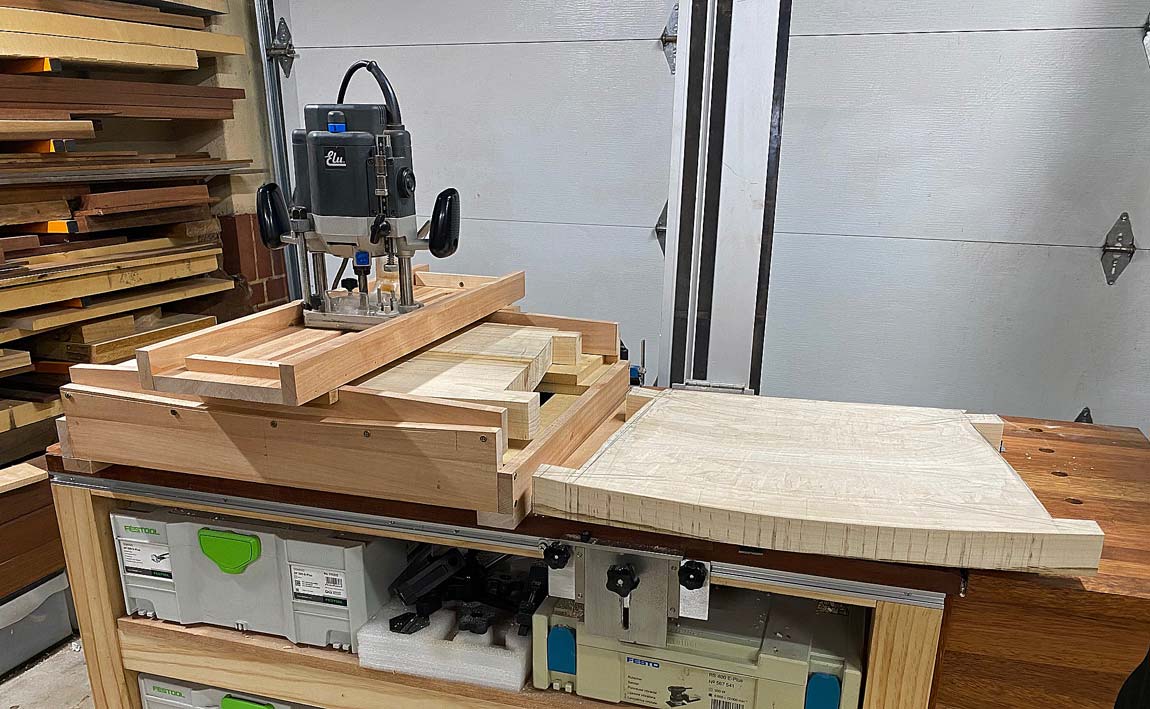
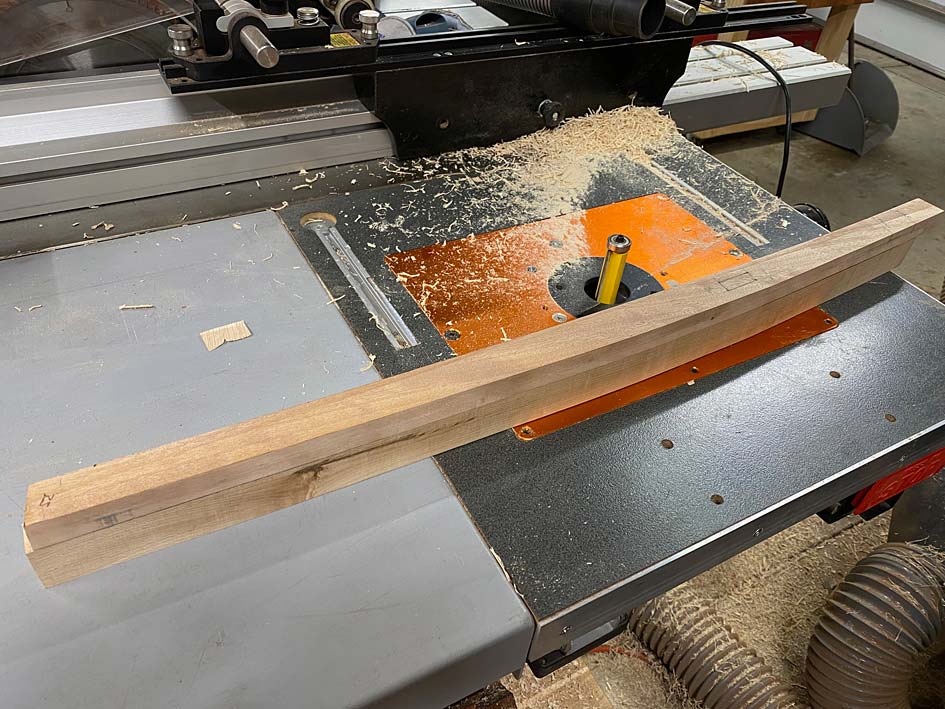
I spent time building a router sled to curve the tops and bottoms of the seats. The tops are documented here.
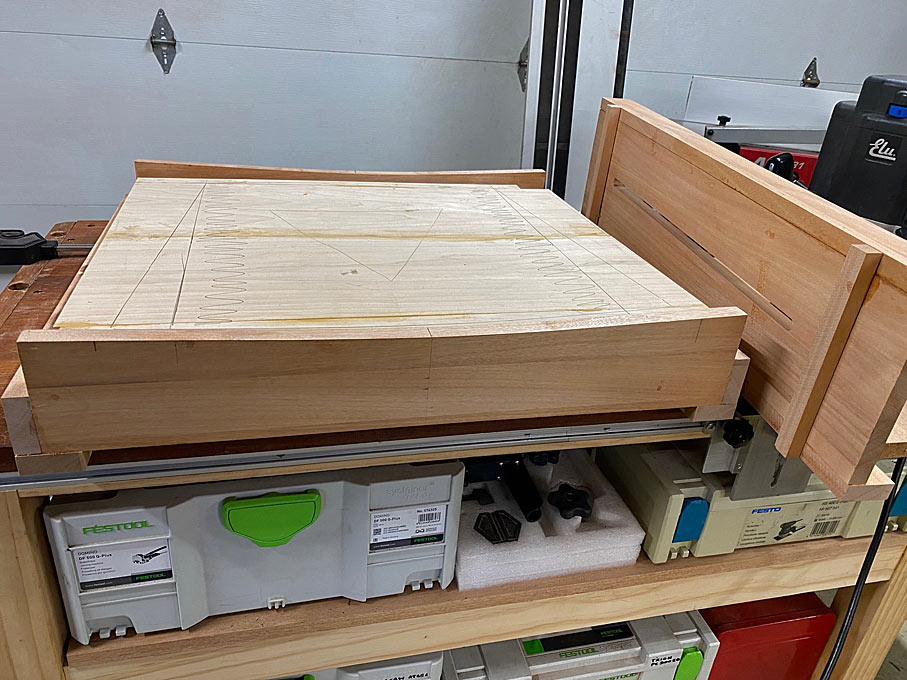

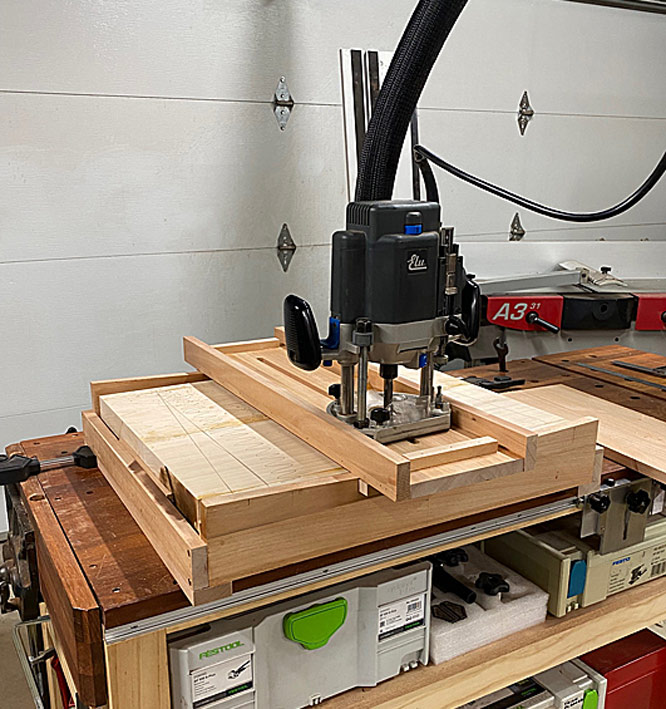
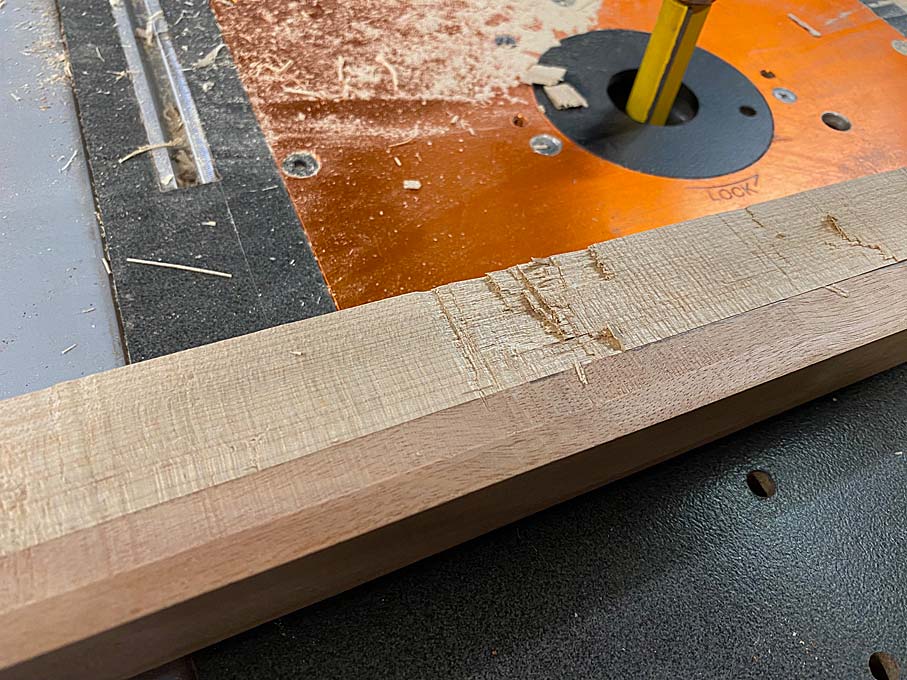
Today was 37 degrees Celsius (99 degrees Fahrenheit), and it was HOT in the unconditioned workshop, all windows and doors closed to be kind to neighbours. And it was slow going pushing the router back-and-forth. Plus it was messy ..
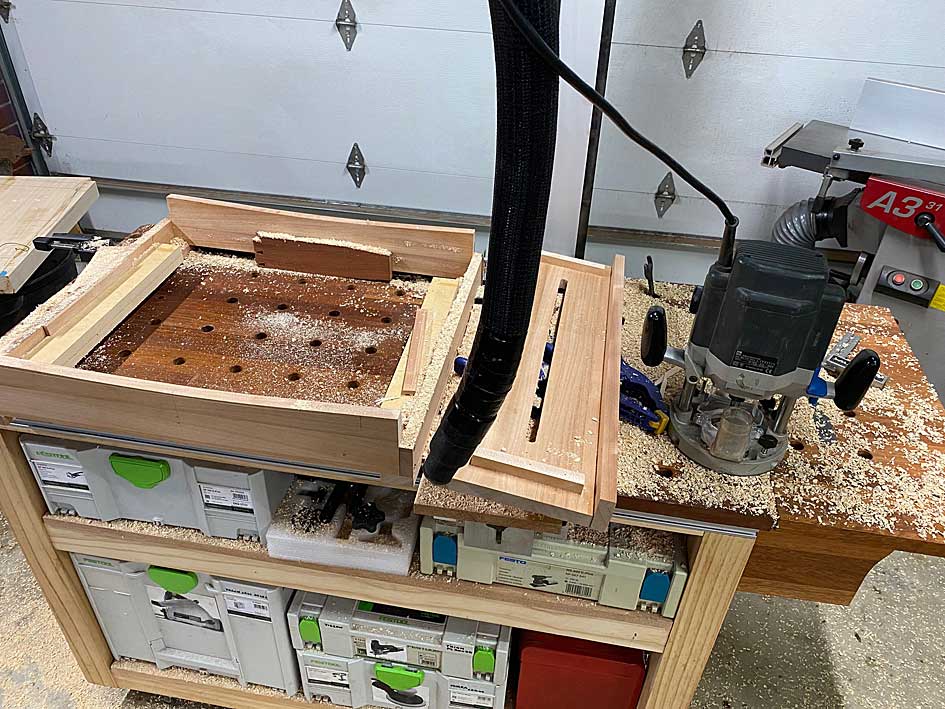
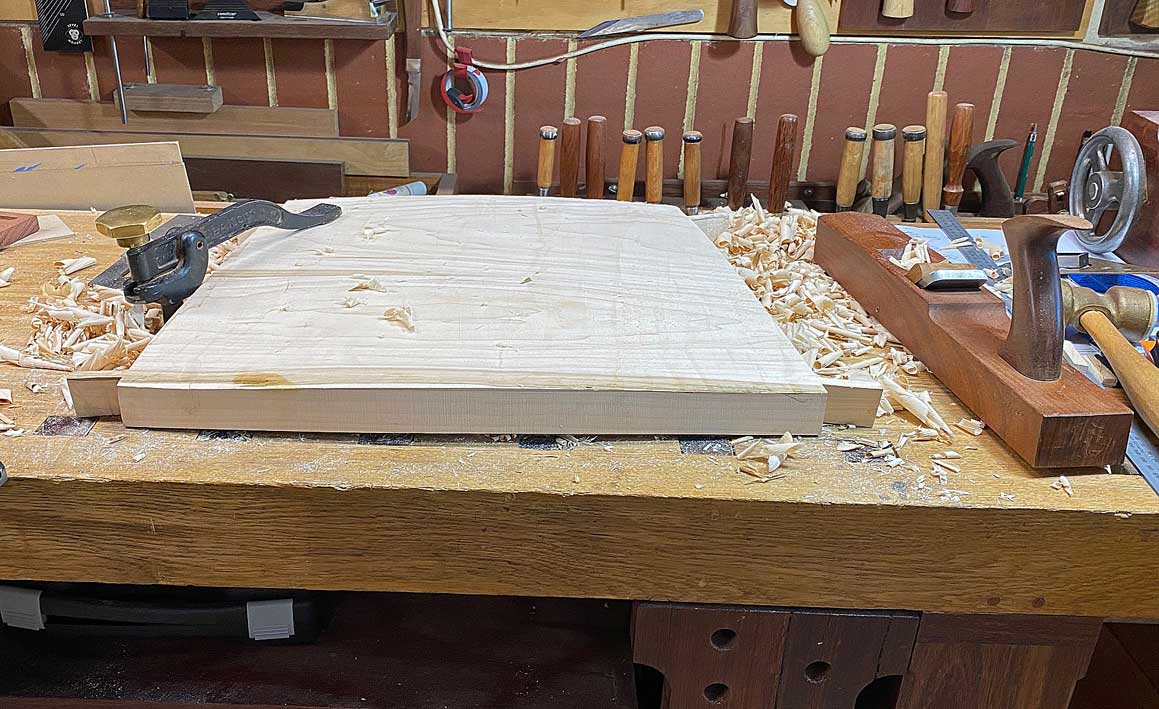
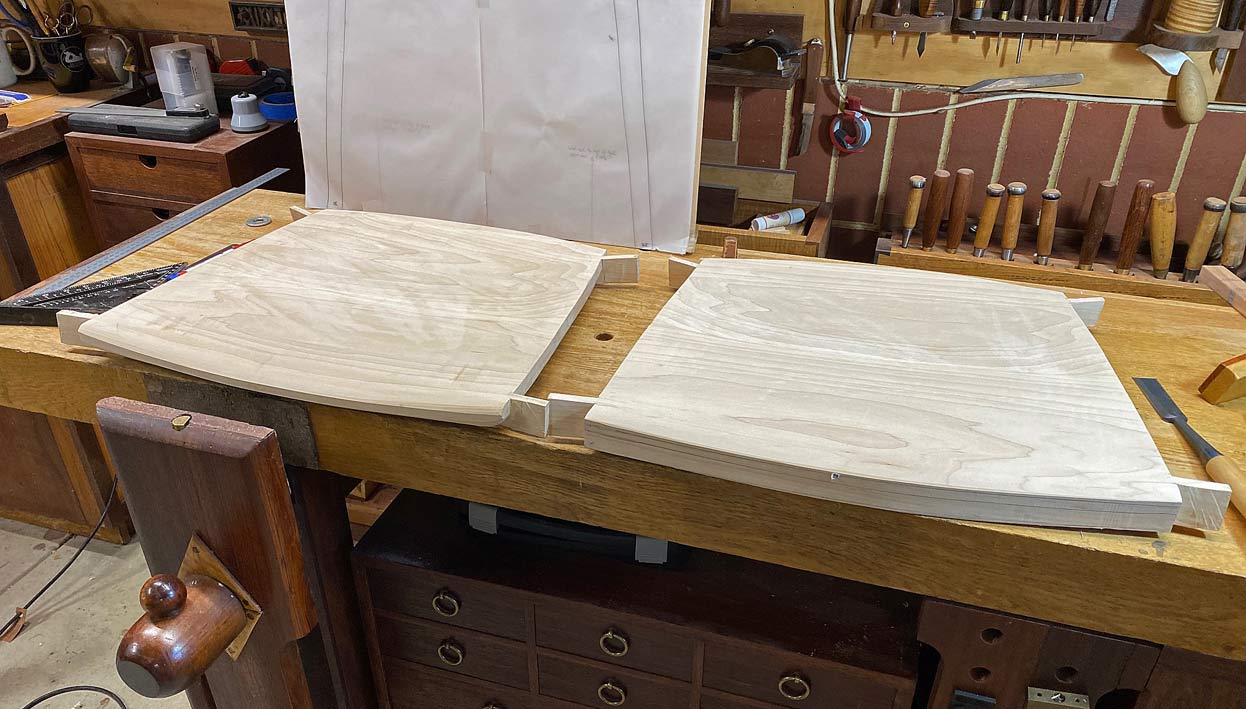
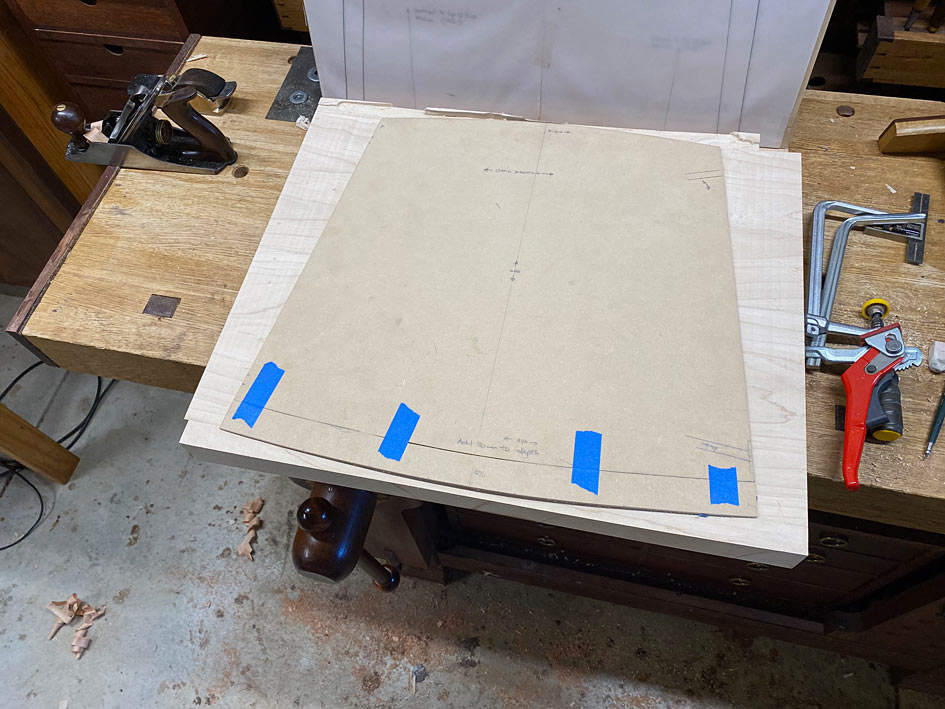
This was the result of my labours: two boards with the initial curves on their tops. These boards started out at 50mm thick.
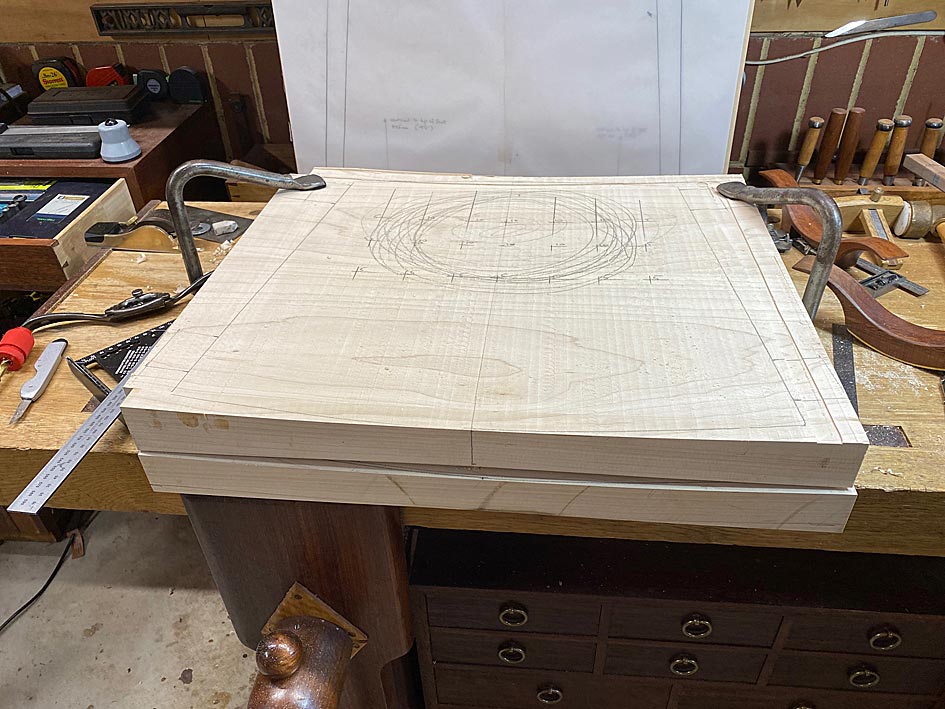
There is a template for the basic shape. This is simply to position the tenons. The outline will be modified later ..
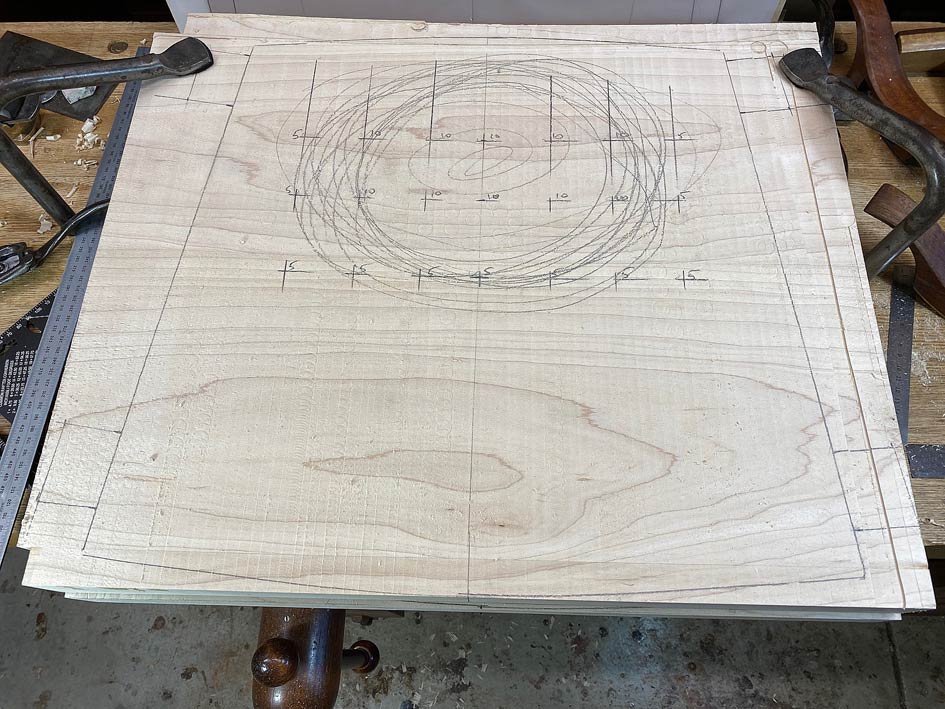
The section for deeper hollowing is marked out, and a grid created to position 10mm holes through the centre and 5mm holes at the sides to guide waste removal ...
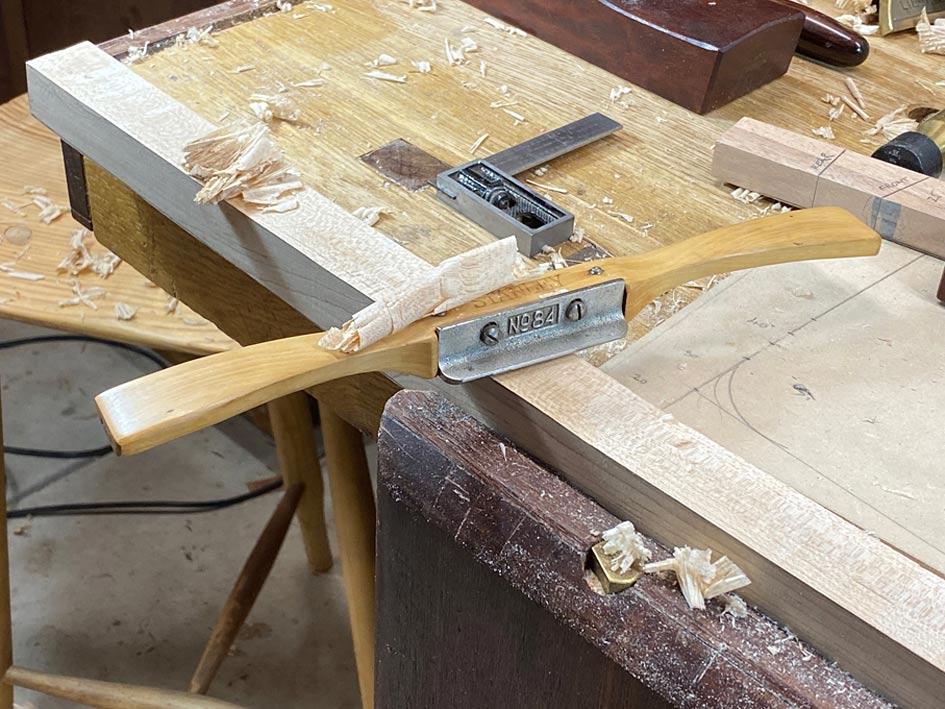
A scorp was used to remove the bulk of the waste ...
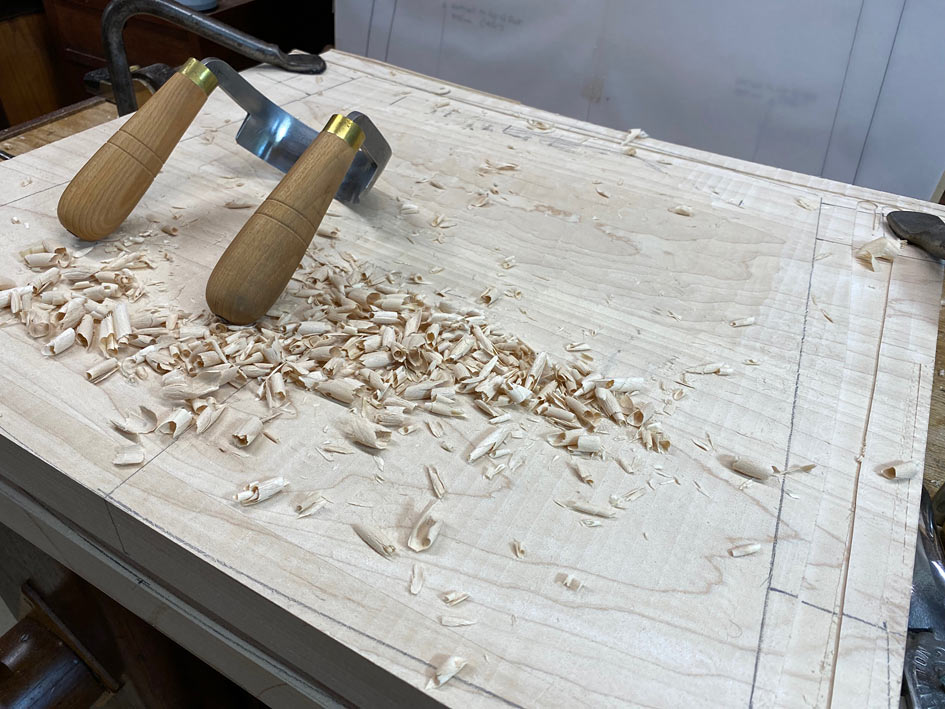
This was hard work - the Maple is hard stuff - and the next seat will use a different method. That will be revealed in the next post.
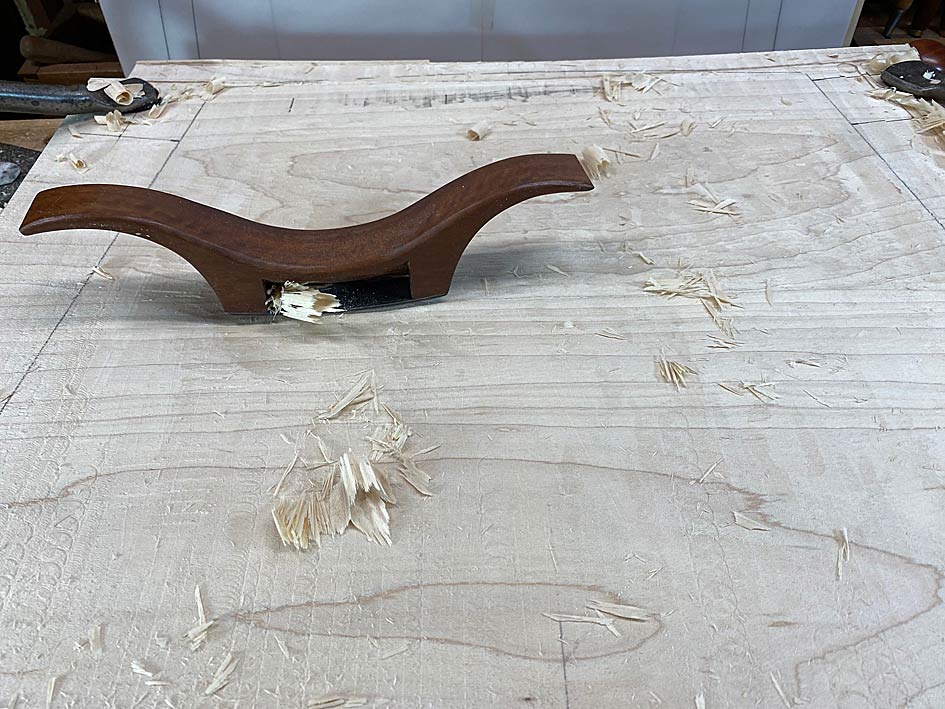
Shaping is done with travishers. I have two I built with different radius soles. This is one ..
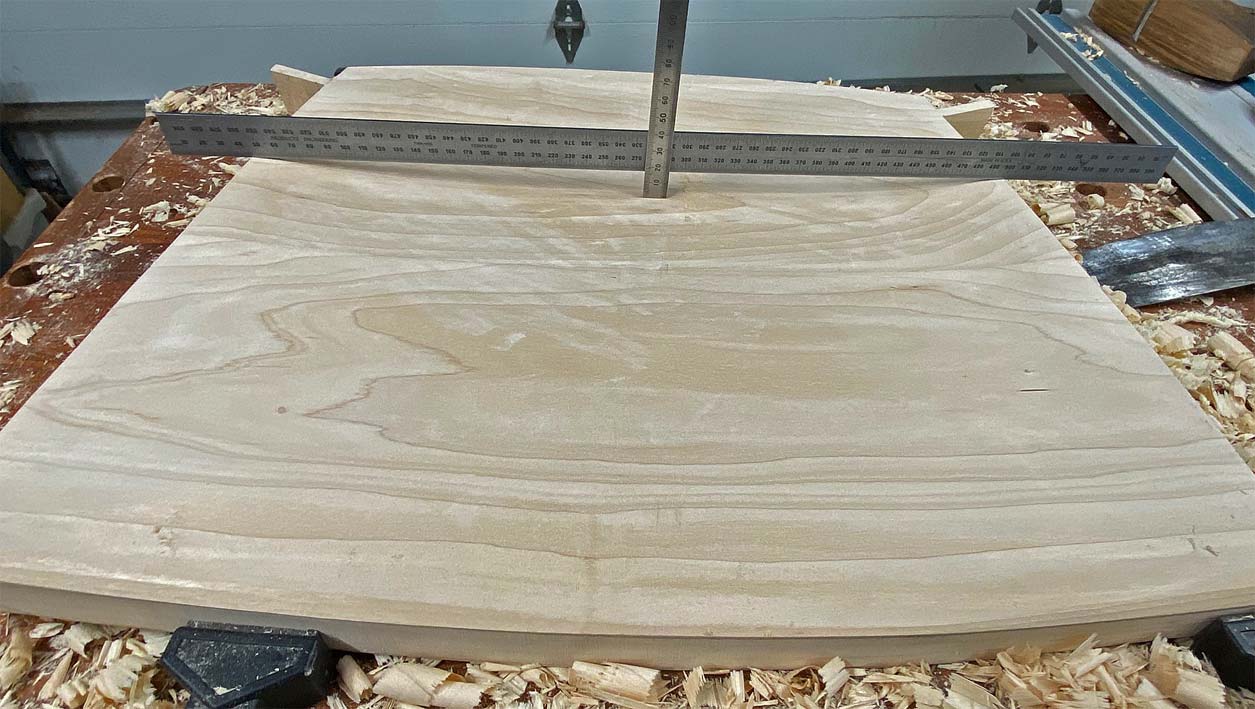
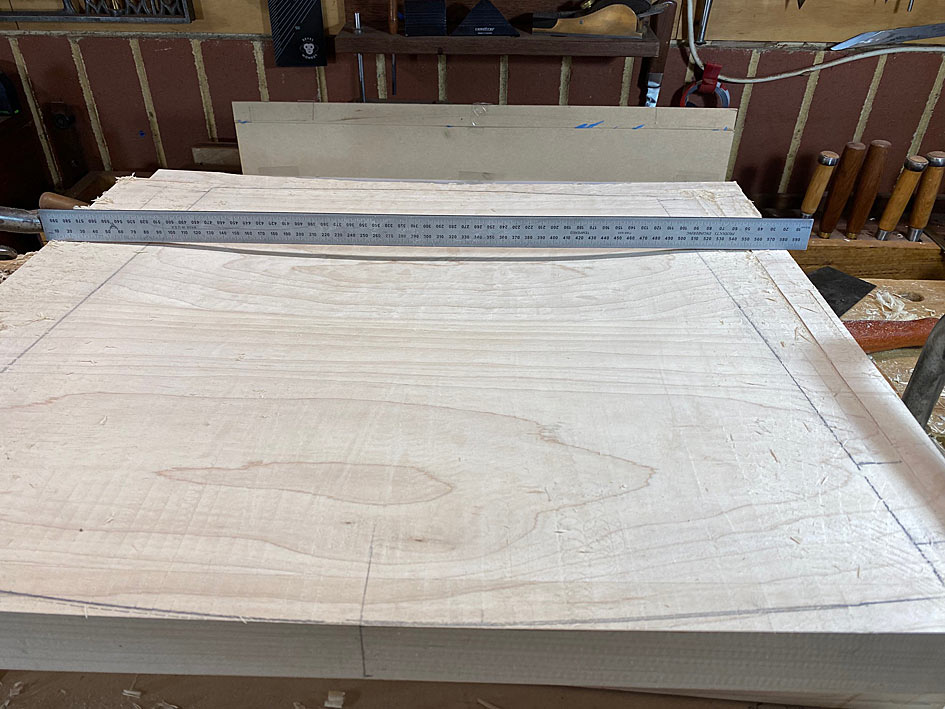
The result of my labours .... across the width ...
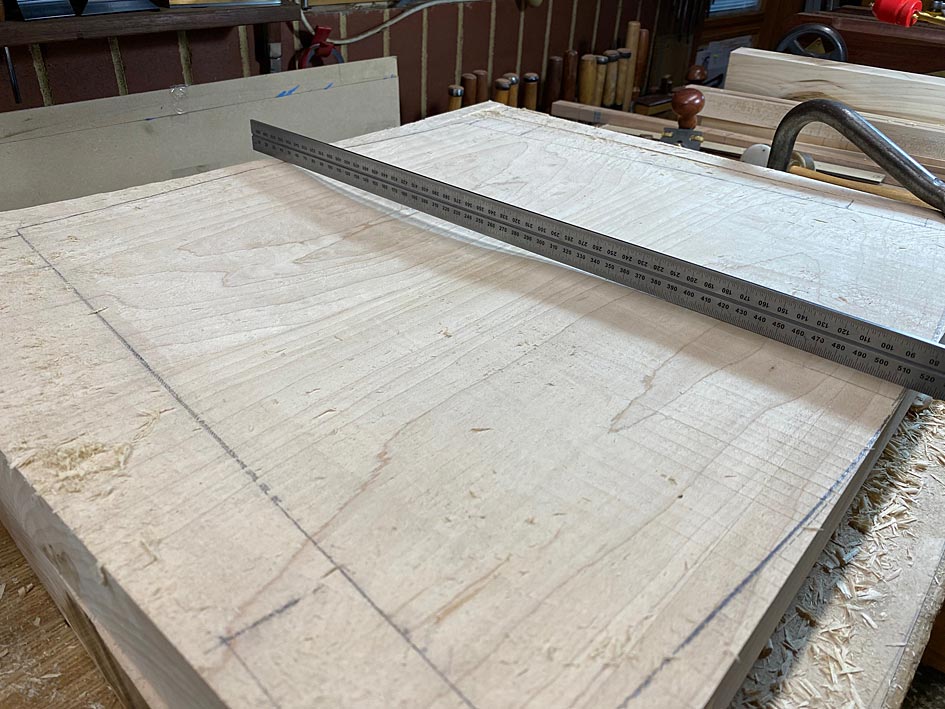
And through the centre ...
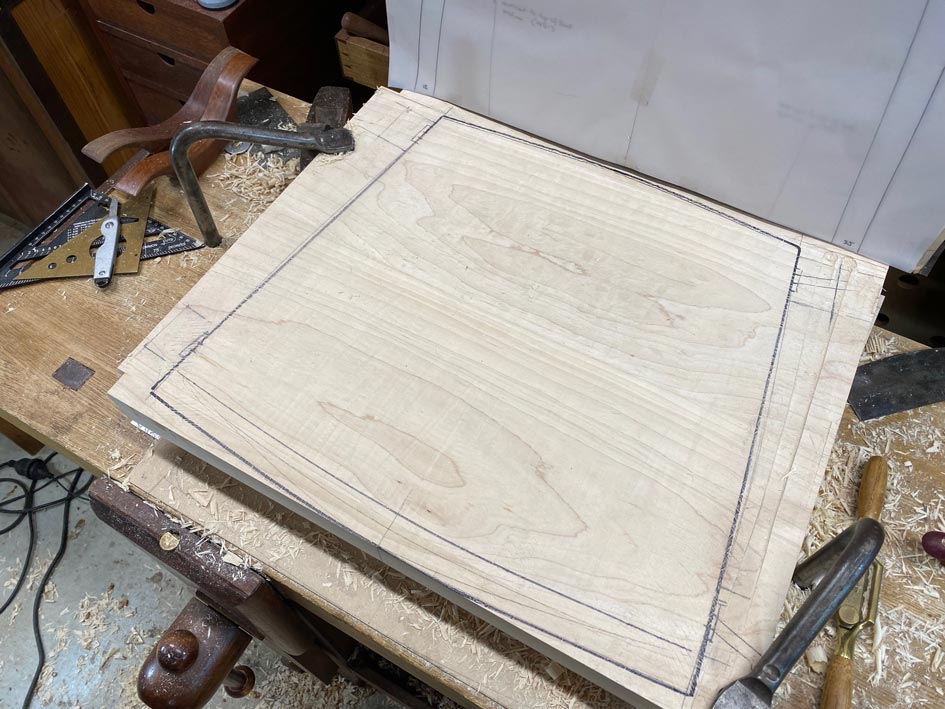
Lots of shaping still to be done at the front and underside.
In addition to the hollowing of the seat for comfort, the extra depth at the rear creates an effect tilt towards the rear legs. The amount of seat tilt can also be adjusted via shortening legs, if needed.
More soon.
Regards from Perth
Derek
Added later 23 h 51 min 58 s:
The initial carving of the second seat ... time to learn something from the initial carving of the first seat! Rock Maple is bloody hard stuff. I have used a scorp to quickly carve Pine and Tasmanian Oak. I used a scorp to scoop out the first seat, and it was not fun in 37 degrees Celsius (98 Fahrenheit). Well today it is 39 degrees Celsius (102 Fahrenheit). Time to try something new.
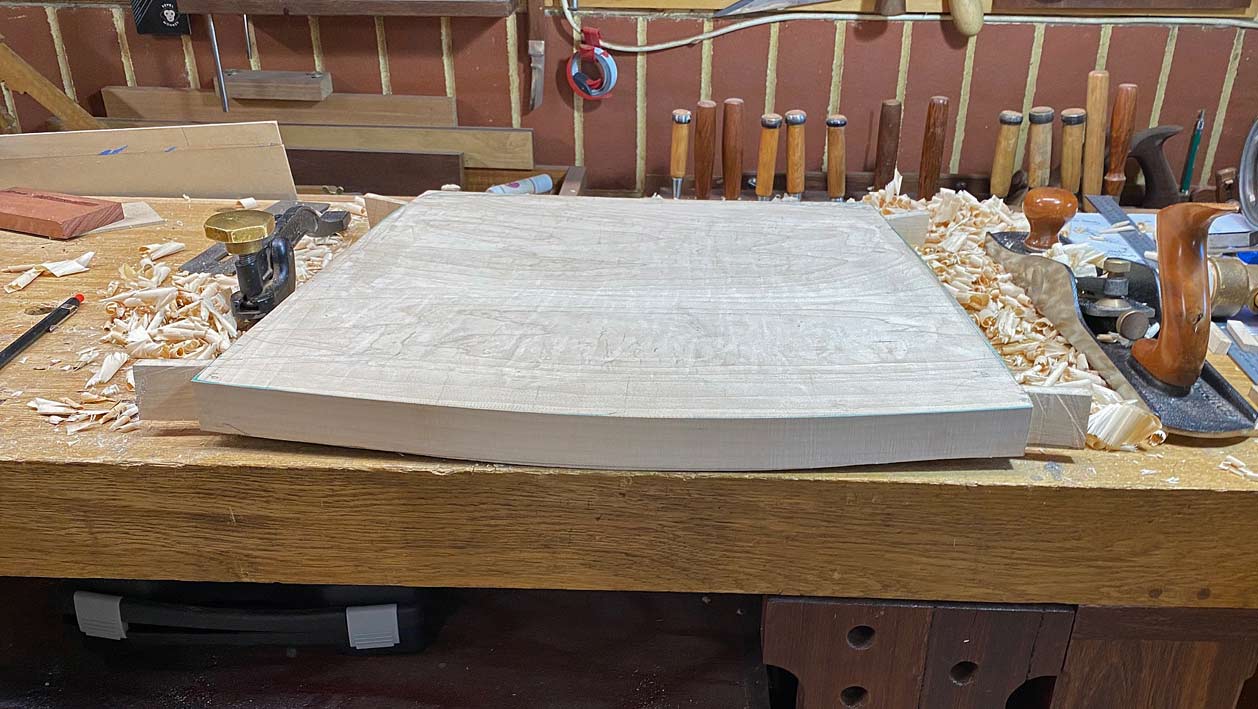
Here is the second seat, which has been curved on the router sled ...
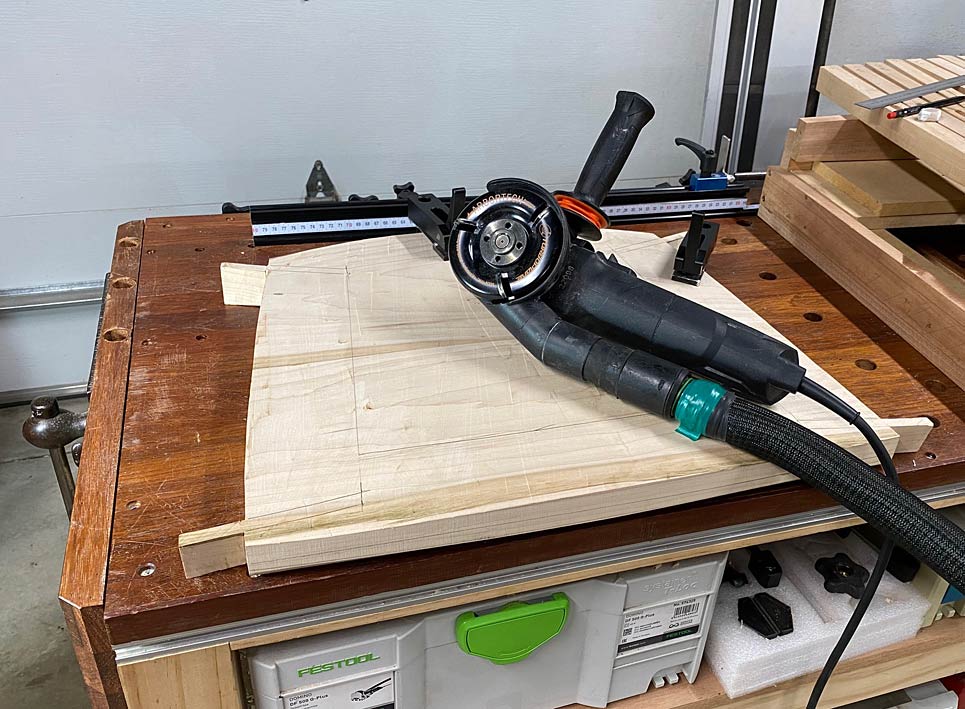
My 74th birthday present (3 days ago) was an Arbortech Turbo Plane kit ..

This can be set up in three ways: it can plane/joint rough boards, it can sand boards, and it can carve ...
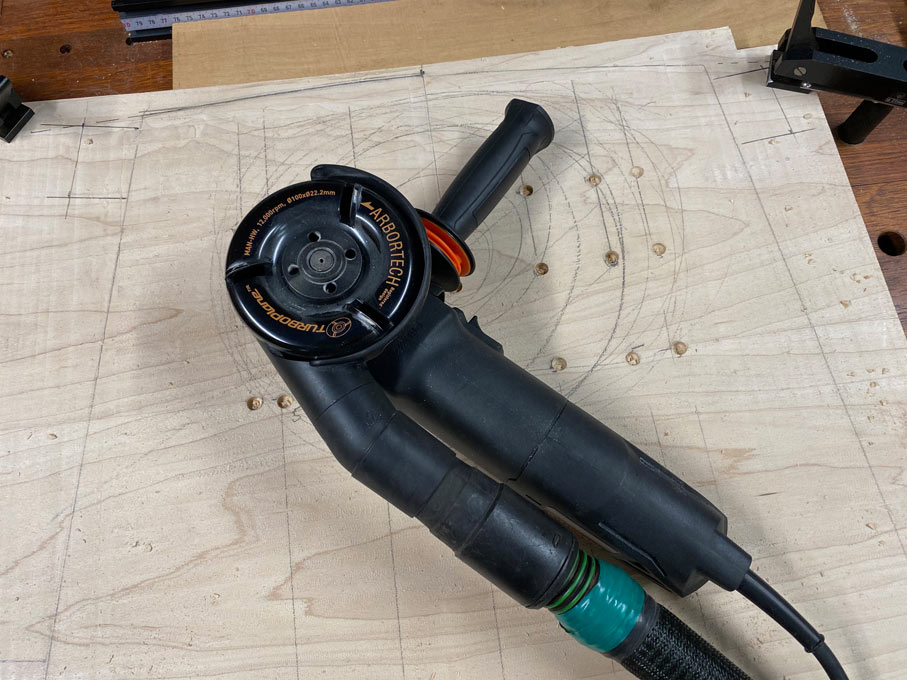
It has variable speed, but I found carving is best at the fastest rate. Most importantly, it has some of the best dust control one can imagine. There is barely any chips to be found.

The Turboplane was impressively fast in taking the surface down to the drilled depths ..
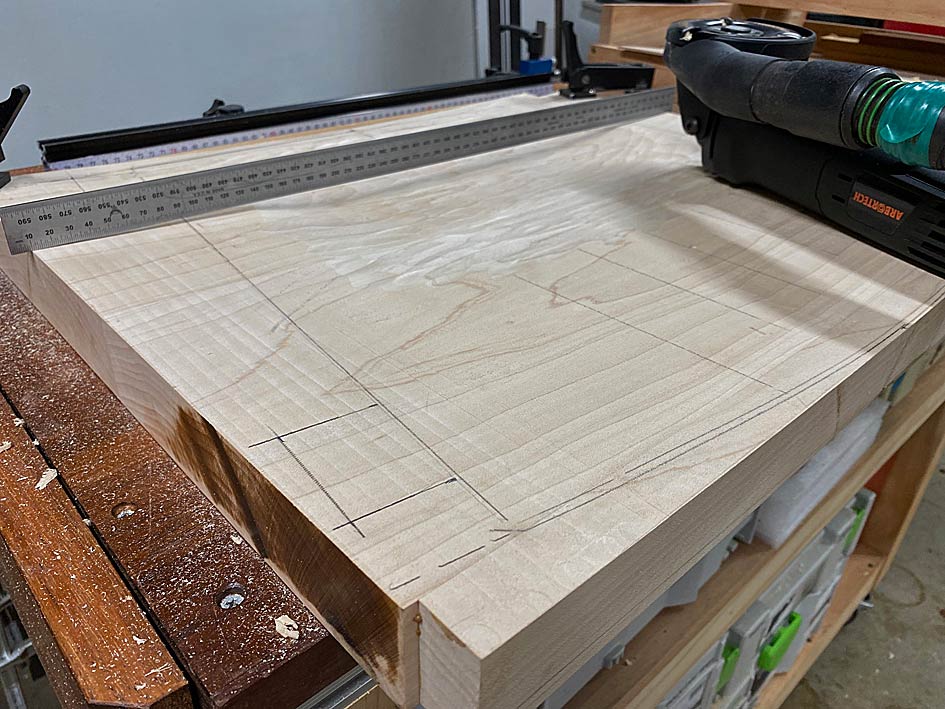
It is an angle grinder, and noisy, but less so than a router.
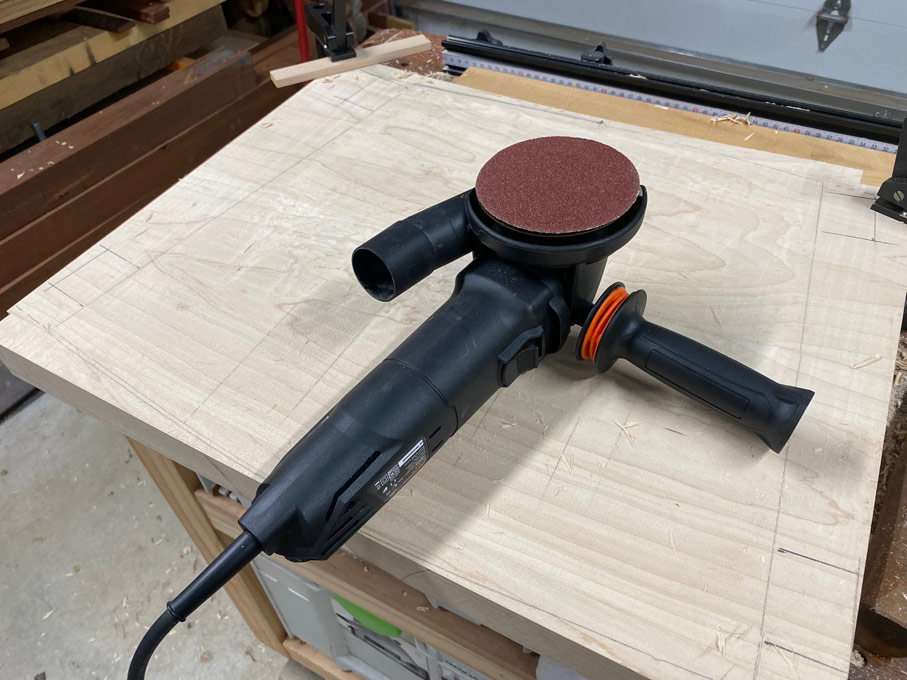
I mentioned that is is a sander as well. I took the opportunity to try this out. 60-grit was rapid, and left a surface as smooth as a baby's bum.
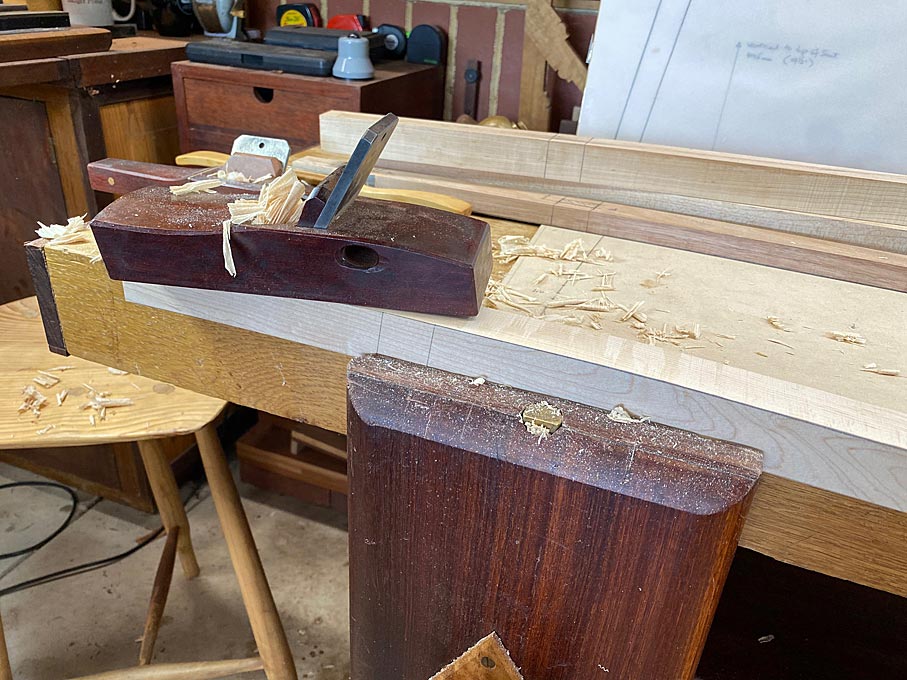
The second new tool used was one I made ... literally in about 10 minutes at this point in time. I had a small coffin smoother, about 4" long, with an open mouth and a single iron. It had been purchased in an "antique" shop for a few Dollars several years ago for the express purpose of turning it into a chairmaker's plane. I admit - I procrastinated ... until today. These are curved front-to-back and side-to-side. It was not much work, and this is what materialised ...
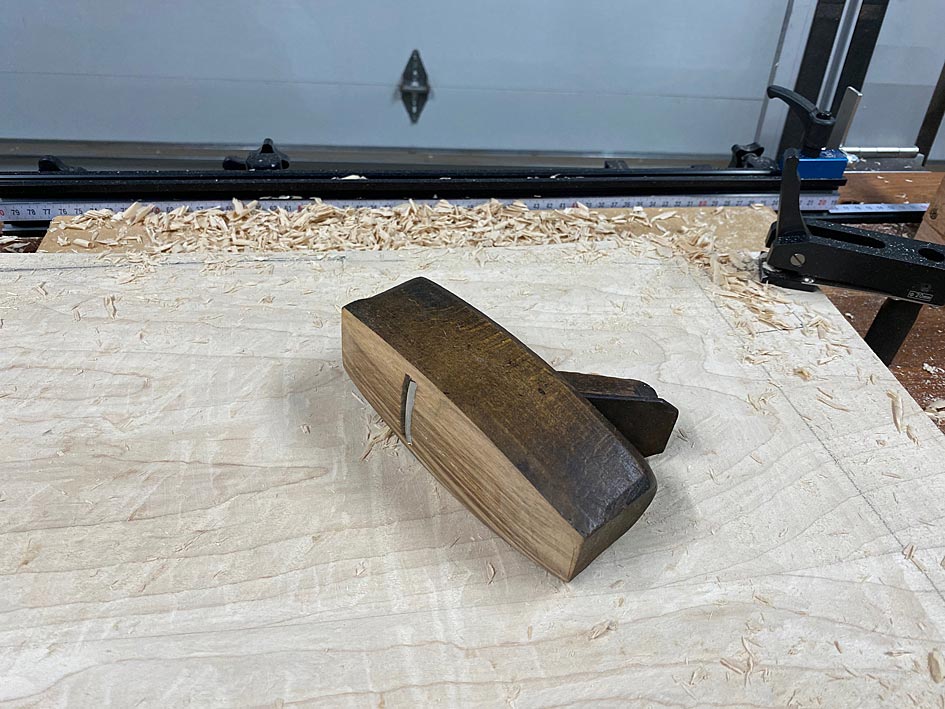
The iron was rusty, and simply flattened on the side of a 180 grit CBN wheel, and then shaped to match the curve of the plane. You can see that the camber is more like a jack plane than a scrub.
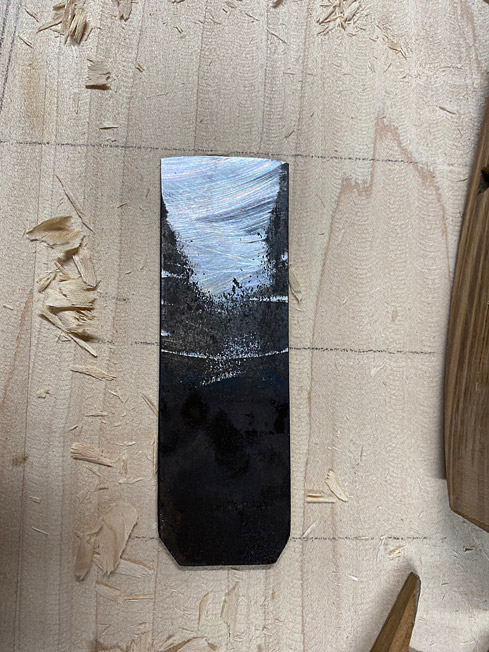
How did it work? Brilliantly! Really, after using the travishers, this plane left them in the dust ...
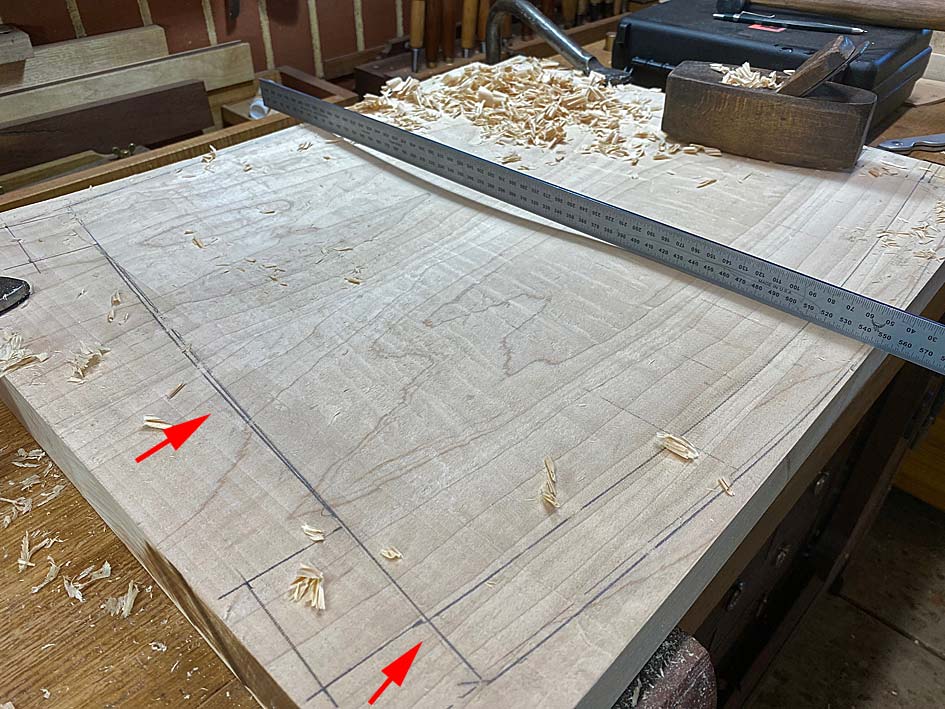
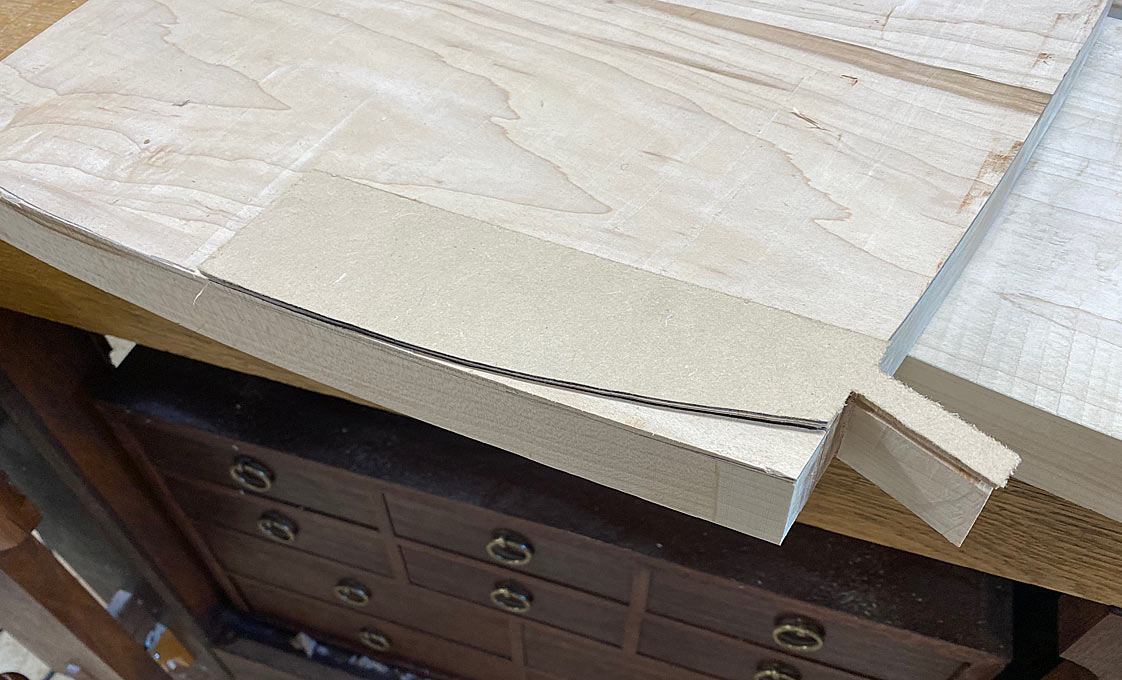
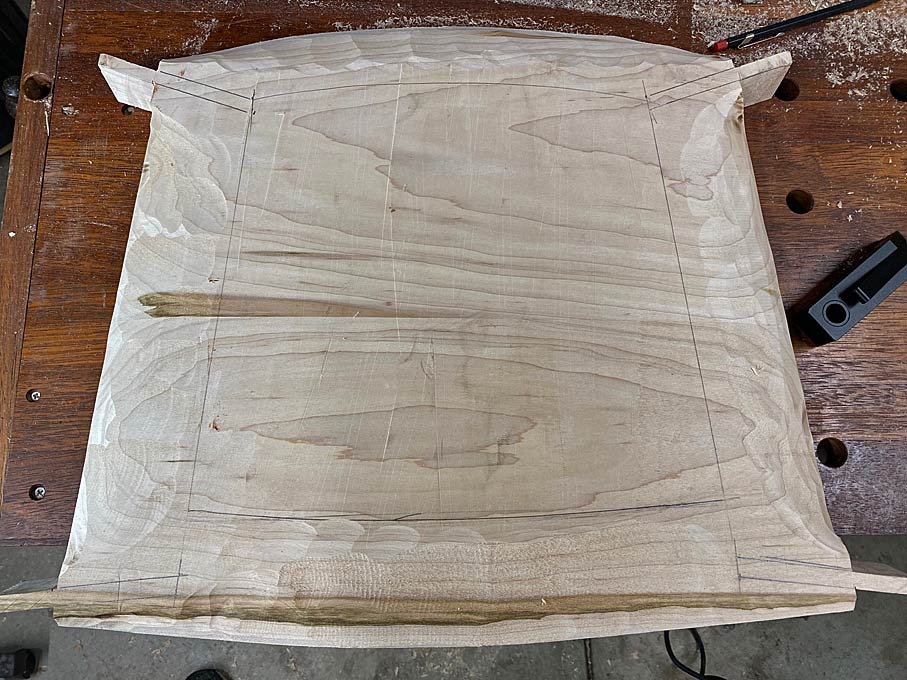
There are a couple of red arrows in this photo. The upper one points to the added curved side lines. The seats were temporarily made with straight sides, but they will have a slight curve (no straight lines on the chairs). The second red line points to where the front of the seat ends. It will be cut off at this line.
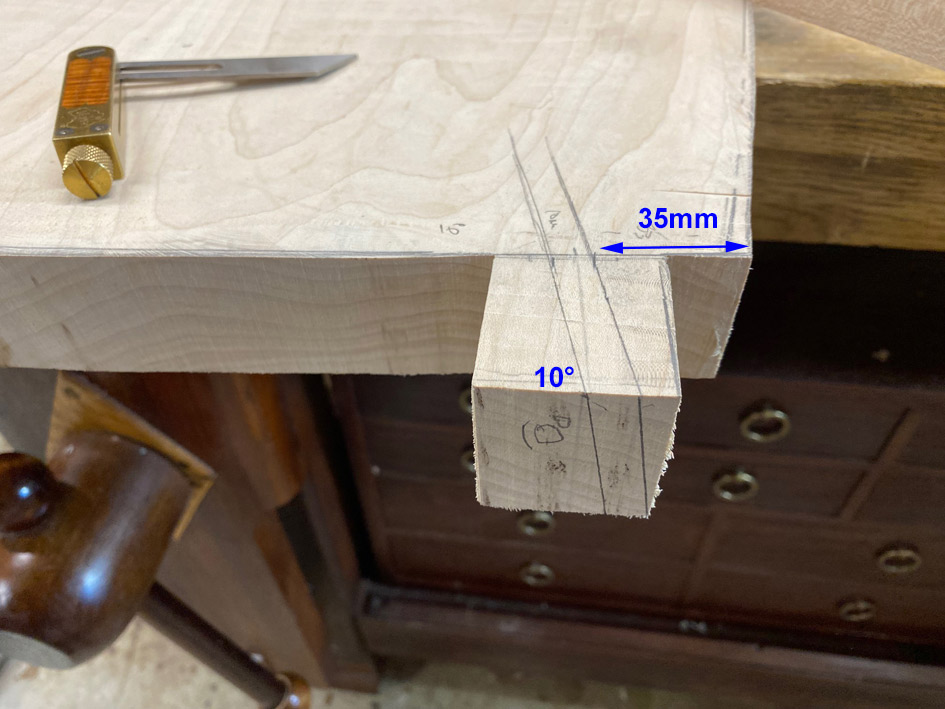
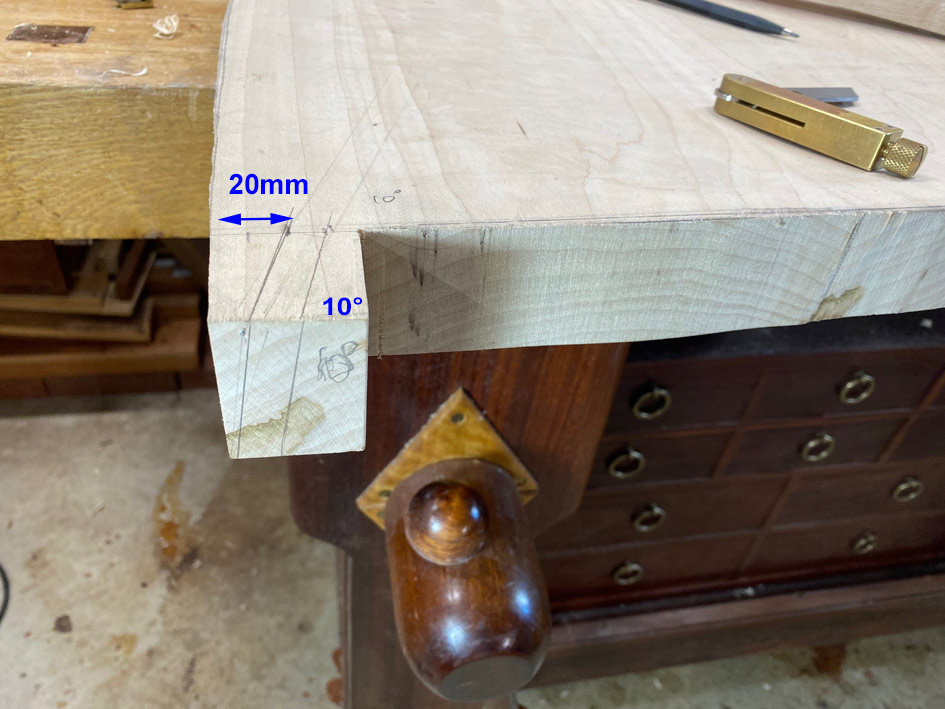
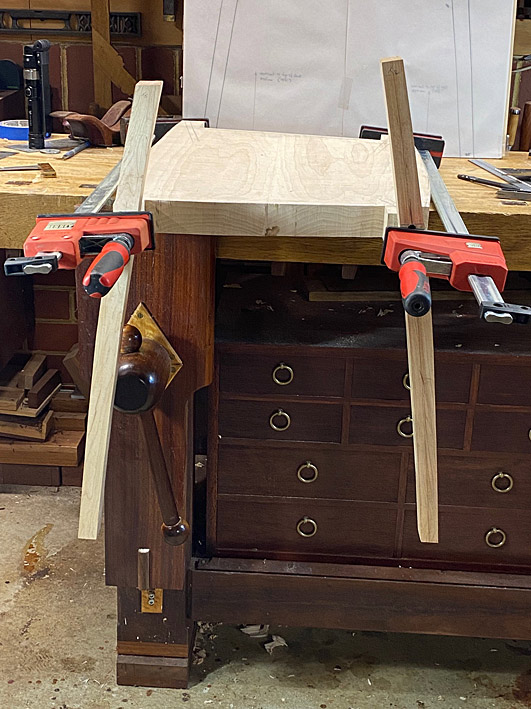
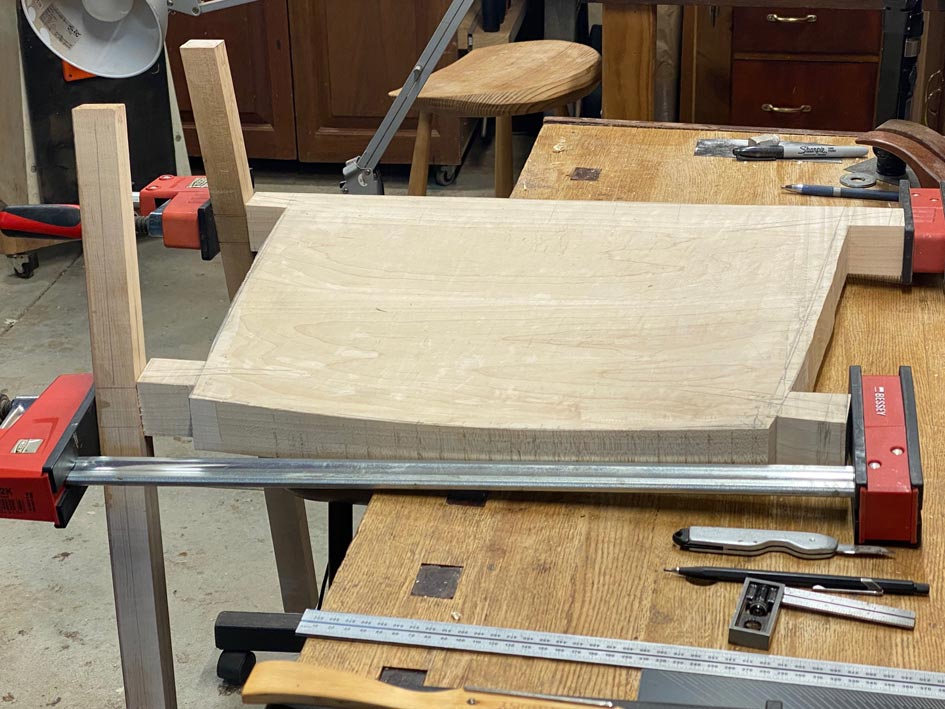
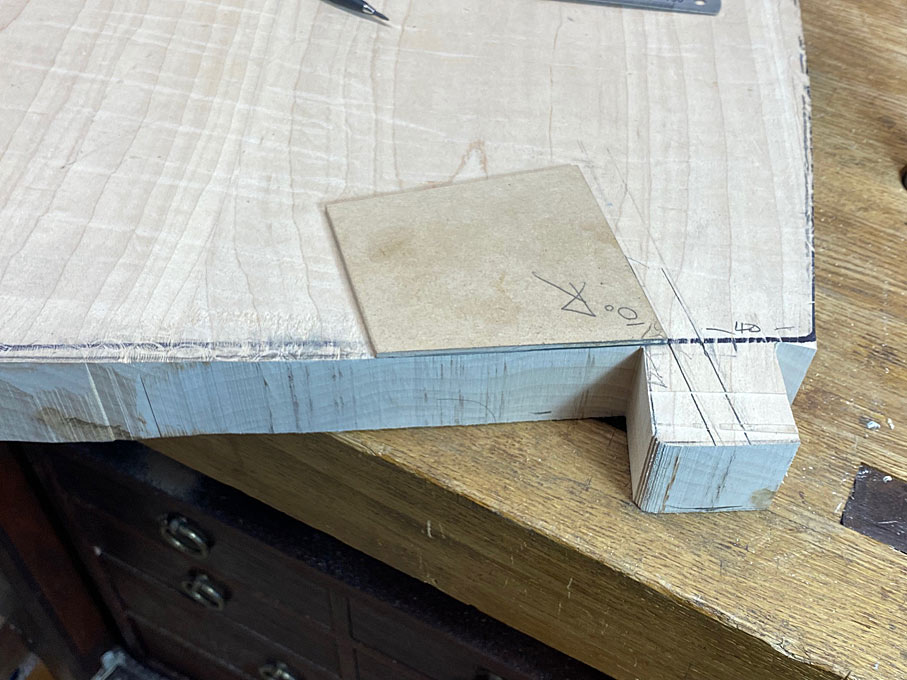
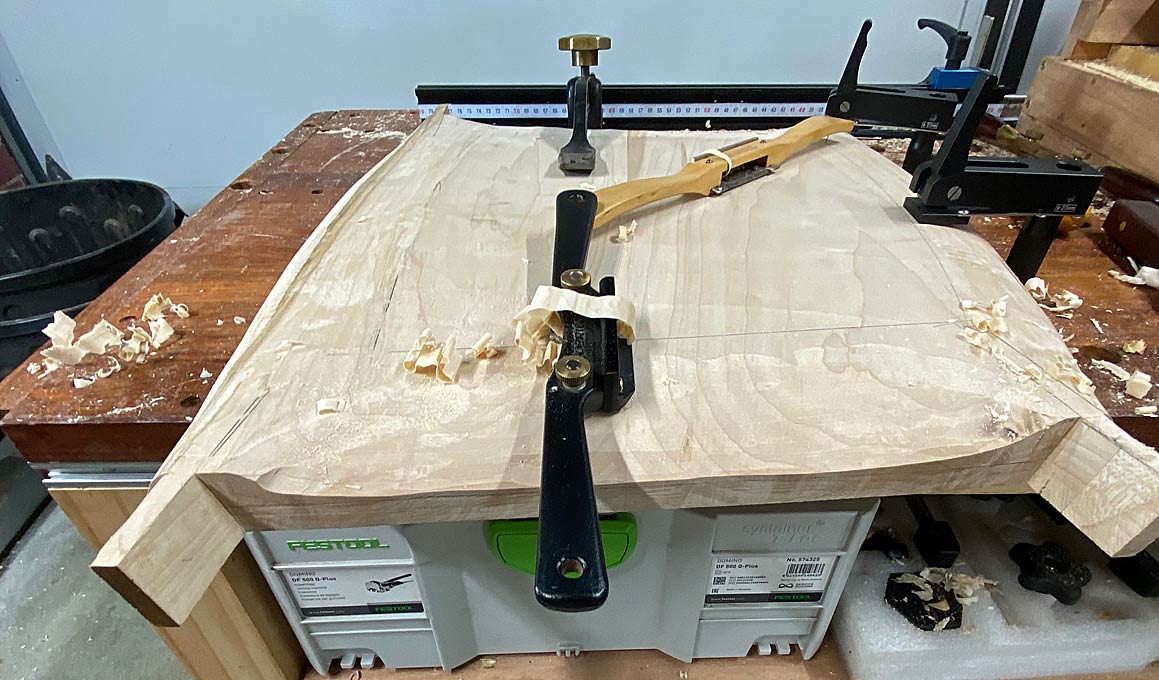
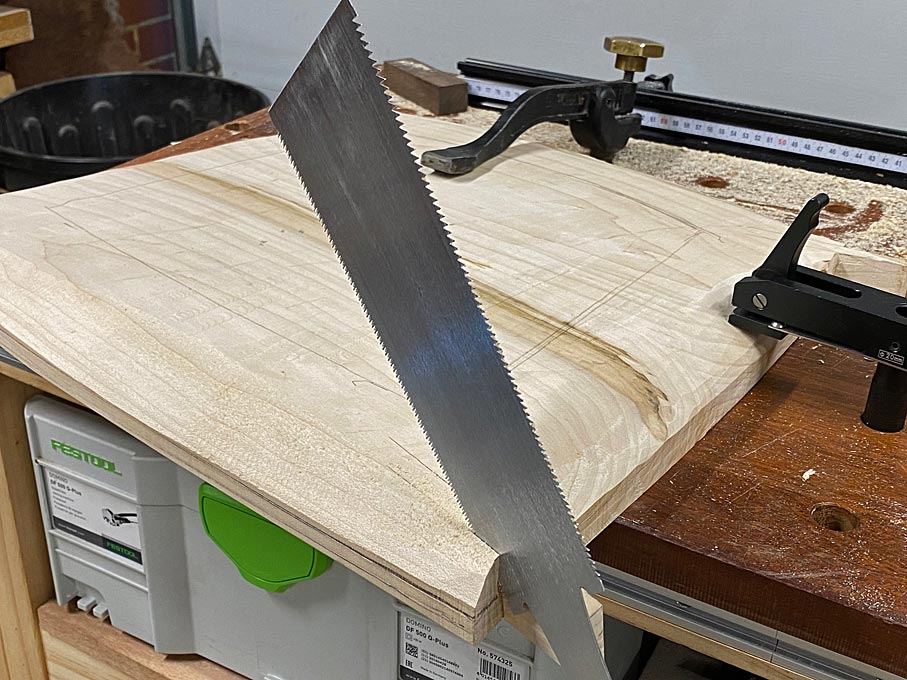
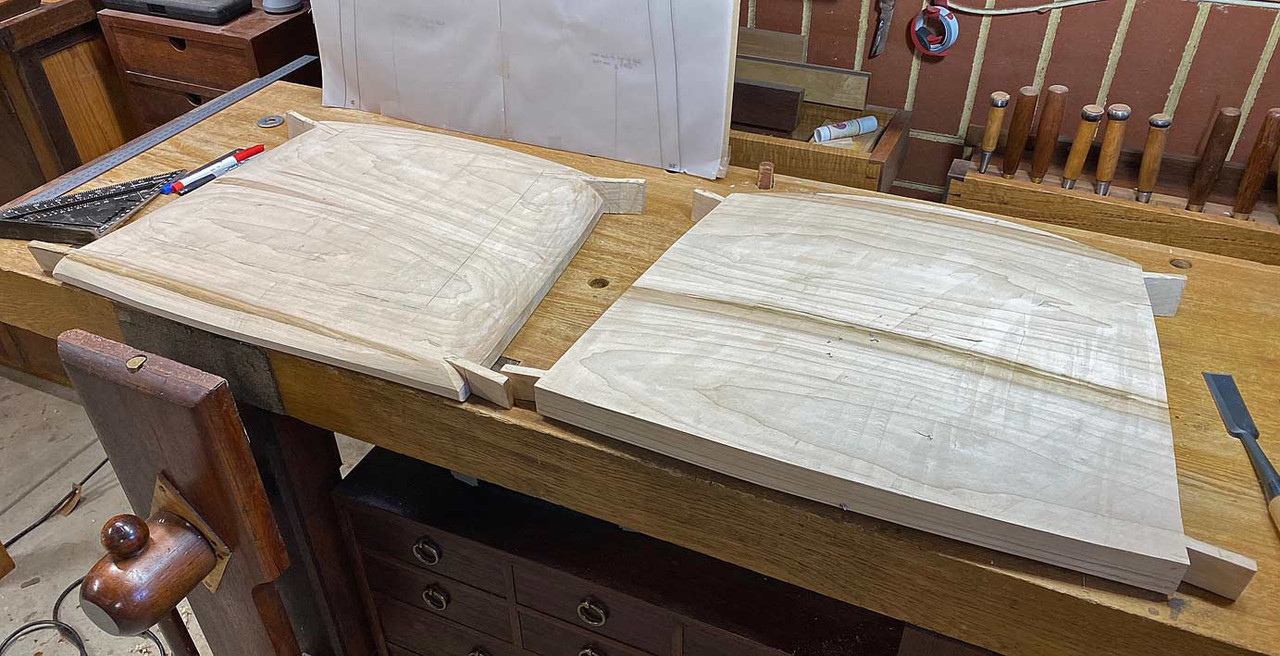
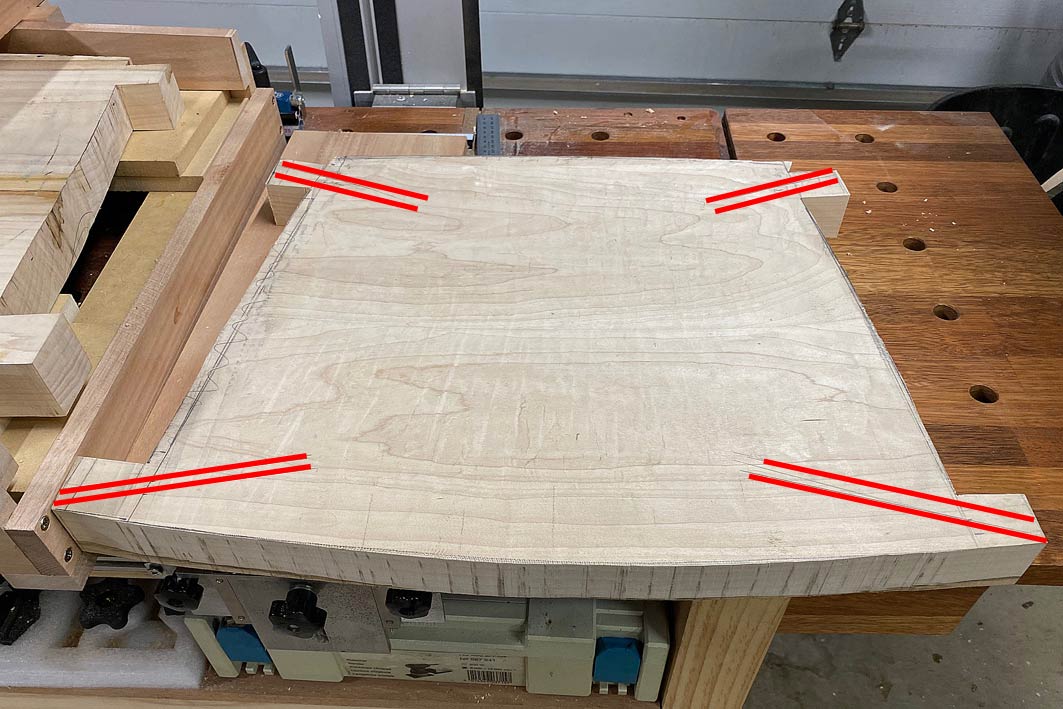
The photo below shows the outline of the seat prior to the underside being curved in the router sled. Note the sections left for the tenons, and the red lines here represent the angle these will be (20 degrees at the front and 10 degrees at the rear) ...
Finally, the router sled was converted from convex to concave ...
That is for tomorrow.
Regards from Perth
Derek
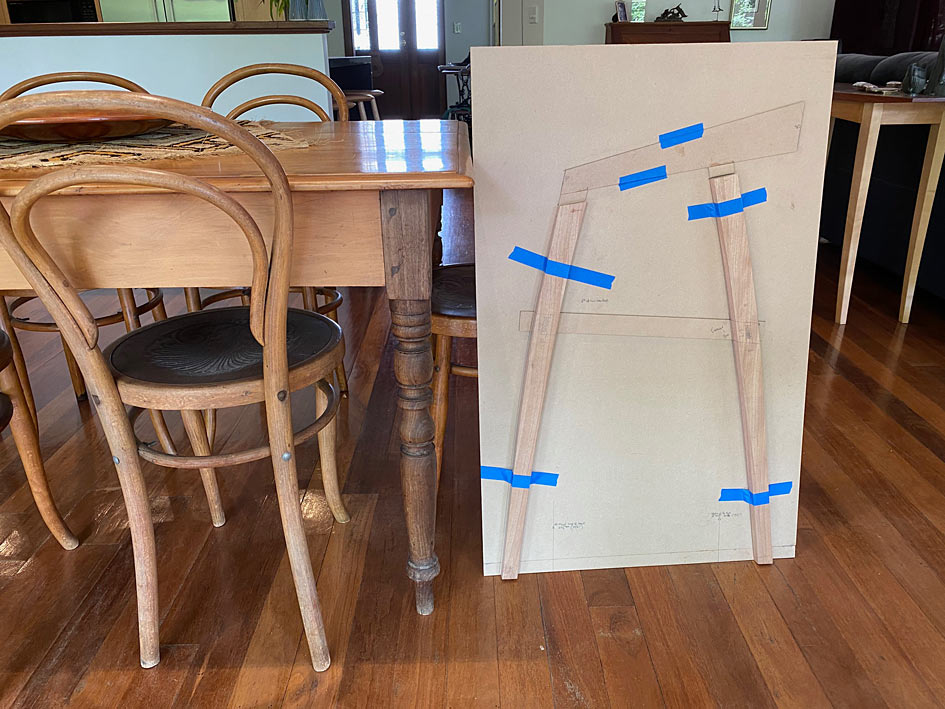
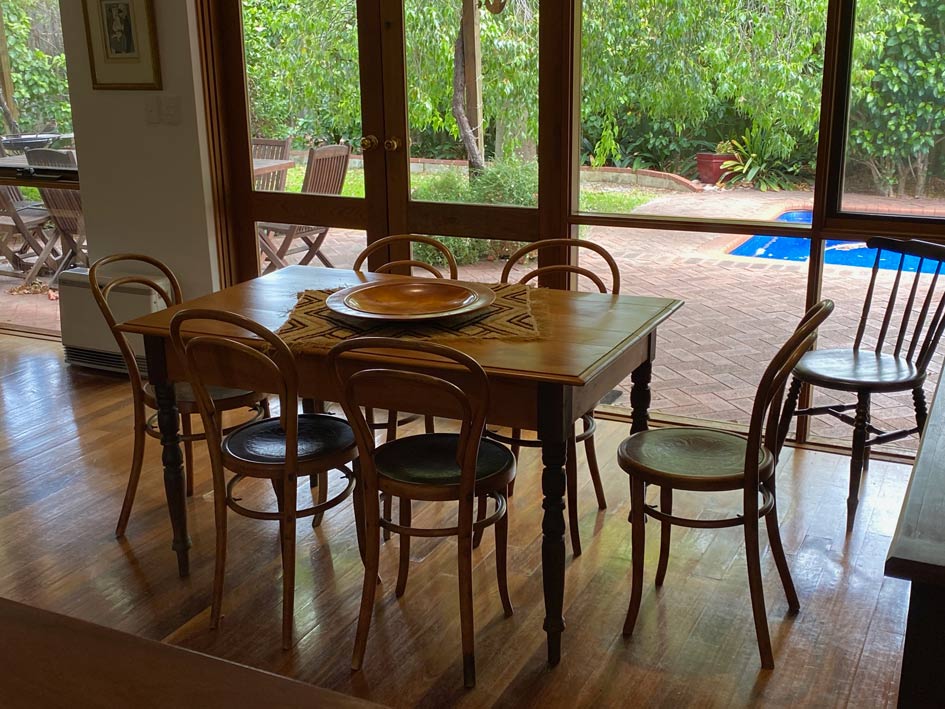
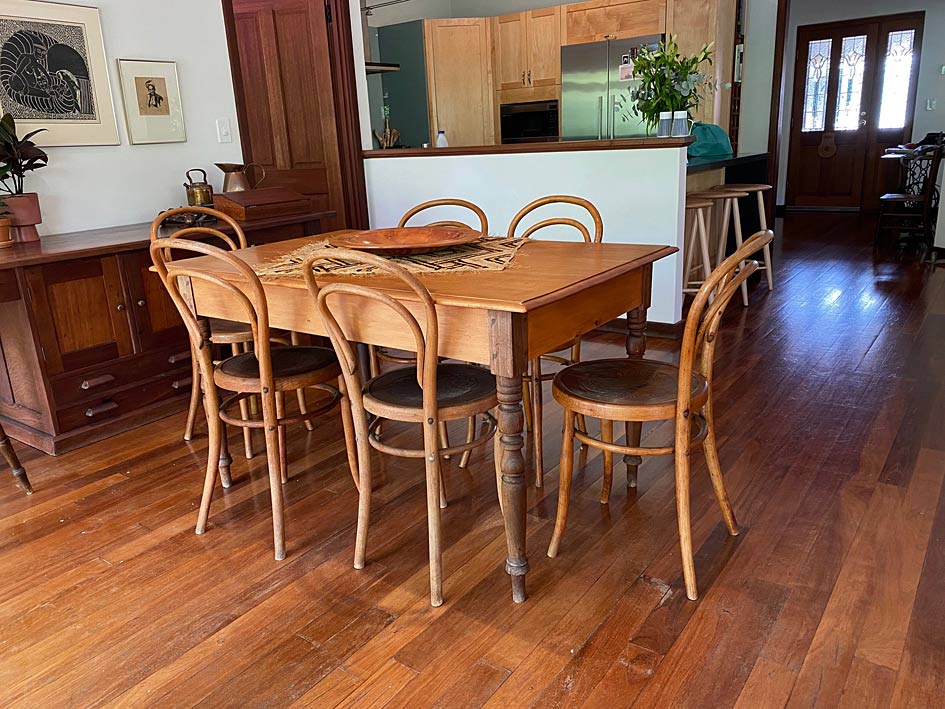
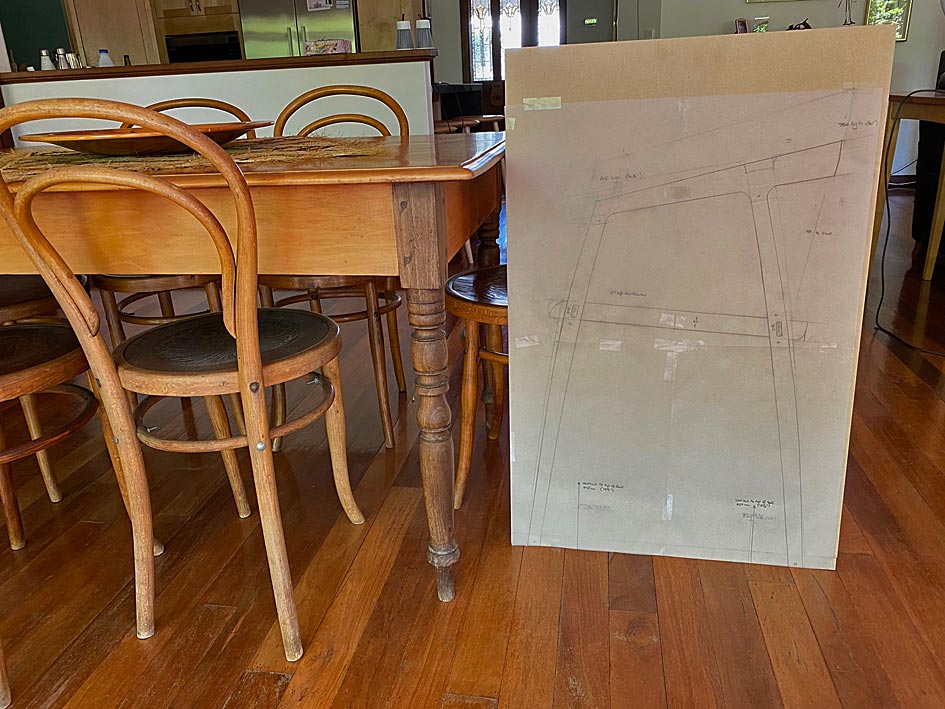
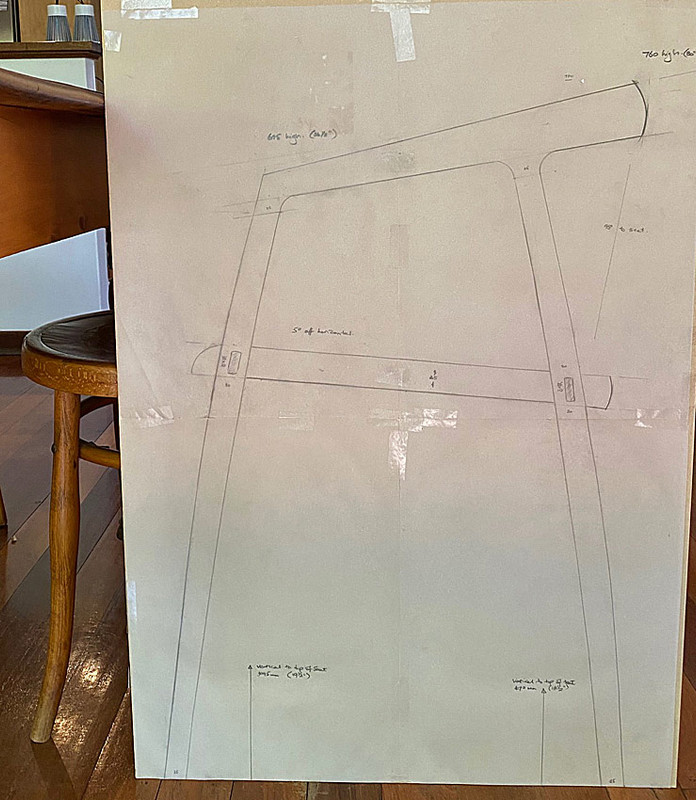
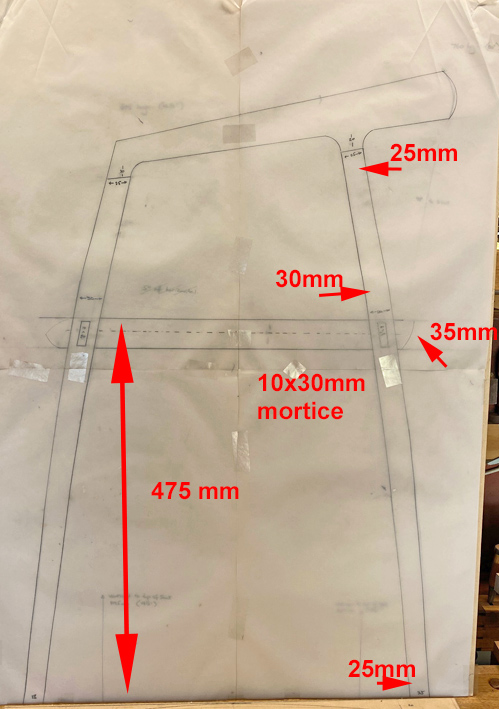
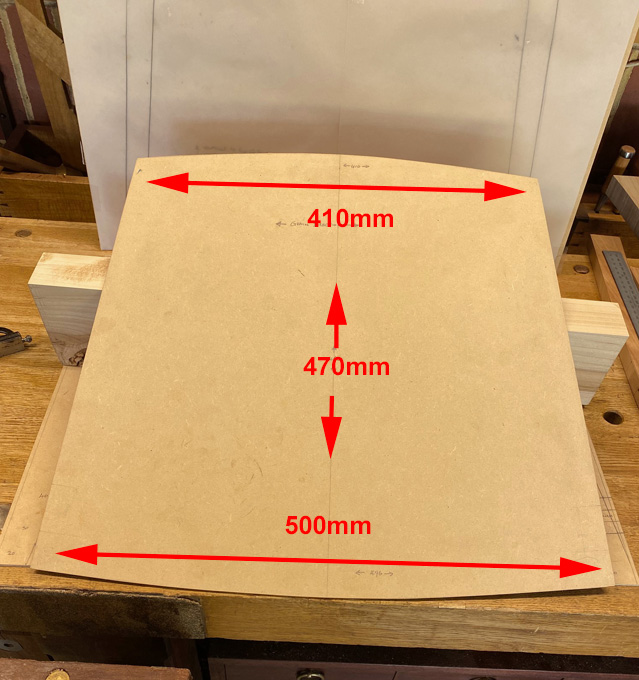
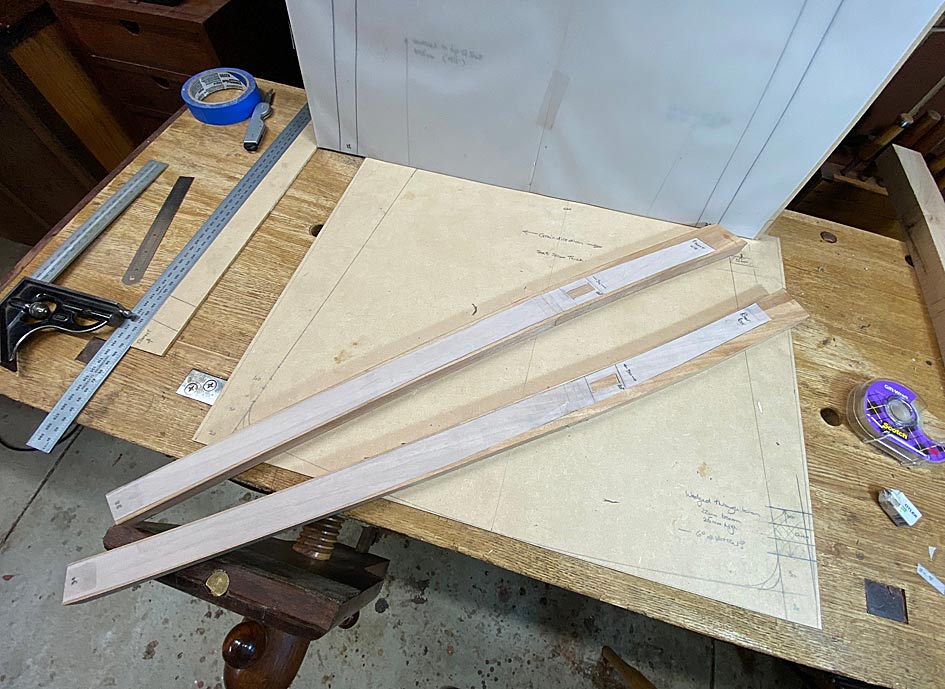




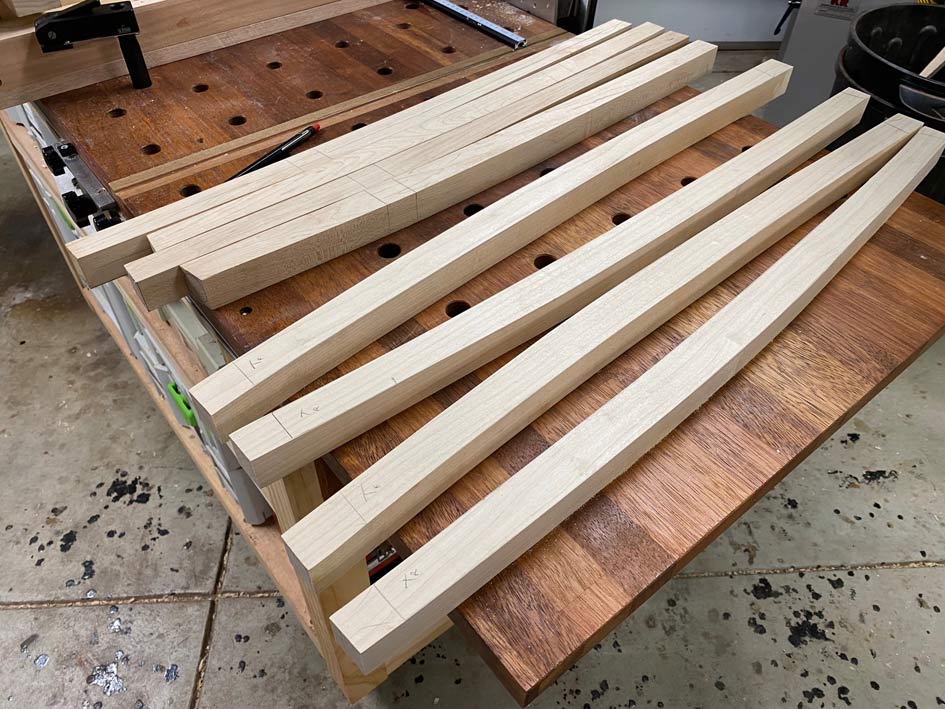
 Templates would have made the process easier.