Rehabilitating Old Chisels-Part 3
by Bob Smalser
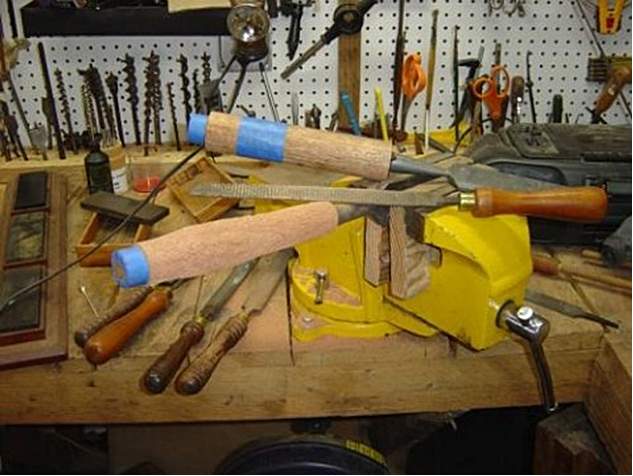
and coarse rasp. Note the selection of finer rasps and various old machinist files on the bench. The better you become at cross and draw filing and the better your selection of file grades, the less sanding you will have to do. And smile knowingly but ignore pundits who claim only cutting blades should ever touch fine wood. Like those folks who claim planes should always be left on their sides instead of their soles when laid down, these practices are hardly universal among master craftsmenor even important, for that matter. Ive seen it done both ways in a dozen or more shops Ive worked in and observedand Ive seen it done both ways well. In fact, all the master stock makers I know always reach for the rasps when working thousand-dollar blanks of figured walnut for wealthy and discriminating clientsno risk of tear out in swirled grain that is impossible to read, let alone slice cleanly.
If you are confident using successive grades of abrasive paper, you should be just as confident with rasps. The work looks ugly, but the ugliness only extends to the depth of the teeth, and is removed with successively finer rasps with finer teethjust like sandpaper. Rasps are really precision instruments. And those large old 3-dollar machinist files in flea markets do yeoman service on hardwood long after they are too worn to cut steel. Learn to use them, and you will never need or even be inclined to use a power sander on a sculpted surface like thesefinish sanding becomes a snap.
Also note all the different file handles on the benchsome are nicely shapedsome are as ugly as toads. Like you rehabbing your own tools, they were all lathe practice from 30 years ago. And its good to have your reject work around in the shop to look at every daythe stuff that makes your teeth itch every time you look at ithelps keep your ego where it belongs.
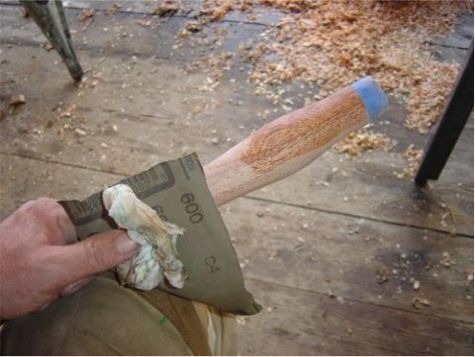
I finish sand the shaped handle in minutes with successive grits of 80-220. The 600 grit shown is merely used to polish occasionally as I go to reveal sanding scratches I missed. I also dampen the wood with water between each gritit reveals scratches I missed, but more importantly, it swells the fibers in those scratches so they can be removed with little hollowing of the surface. It will also prevent the grain from raising beneath your finish when the tool gets wet for the first time. Another stock makers trick.
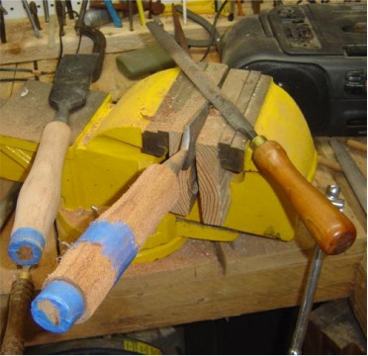
With one handle completed for a model, the second and any subsequent handles can be made much faster, as there is a lot less trial-and-error eyeballing of your shaping progress. The first handle took 45 minutes to shape and sand, the second one will take 25 minutes. Dont try to go fast, take your time, and learn as you go and enjoy yourself. Im just pointing out that with practice, this level of work can be done by hand at a decent pace.
As the Lakeside chisel in the vise is a paring-style rather than a thicker firmer chisel, I wont ever use it for striking and can make the shape of its handle a little finer. This will also serve as a tactile aid as I reach for them during work without looking.
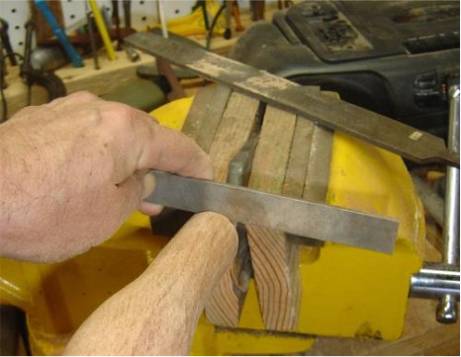
One nice-to-have tool for this work is a file with a safe or untoothed edge to mold those epoxied shoulders nicely.
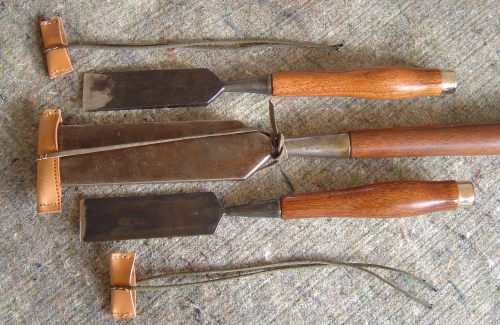
Here is the final result. Restored chisels.
Comments (0)
No comments yet. Be the first!
Leave a Comment