Rehabilitating Old Chisels- Part 2
by Bob Smalser
We continue with part 2 of the restoration.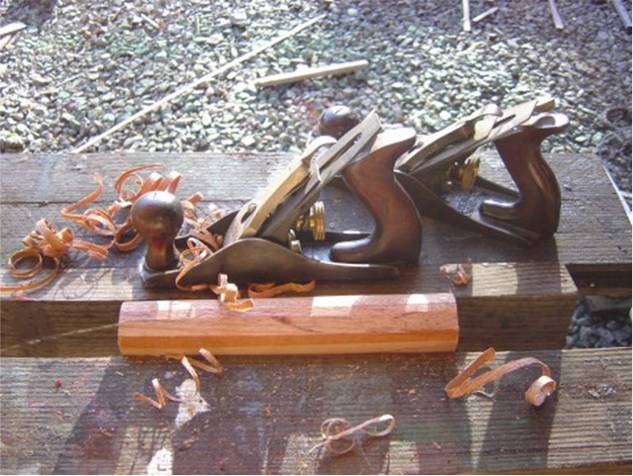
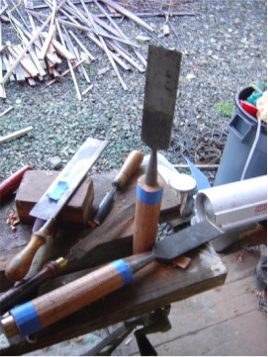
Next I rough out my handle stock. There are better choices for handles that occasionally will be struck, but I have some Honduras Mahogany left over from a boat project and will use that. I rip a 2 turning square of it on the table saw, 8-side it on the same saw, and cut two handles to lengththe finished length of each handle to equal the length of blade and tang. I then 16-side them using a couple rehabbed old smoothing planes set for coarse and fine cuts. And except for the hanging hole in the 5C above, the Stanley 3C and 4C in the picture were in worse shape when I acquired them to replace the familys old beech smoothersthe ones I used exclusively for 20 yearsI was getting tired of renewing mouths and soles on those.
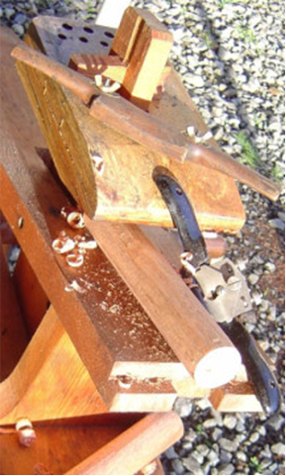
Then I move to the shaving horse and shape them into cylinders using two spokeshaves set for coarse and fine cuts just like the planes.
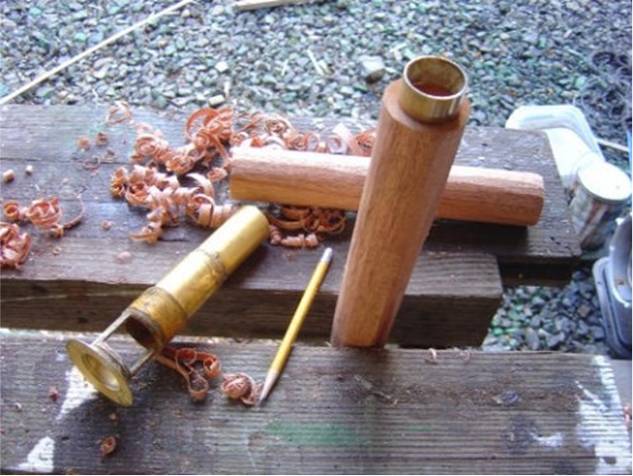
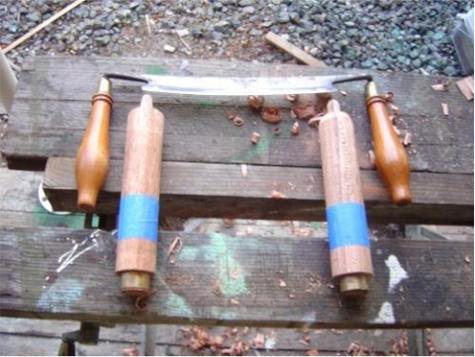
Next Ill fit the ferrules on the striking ends of the handles. These are simple sections of 1 Πbrass pipe salvaged from an old plumbing fixture with hacksaw and buffer-grinder. The centers are laid out, an interior line penciled
and the actual ferrule and masking tape used to lay out the cut line for the saw. The dovetail saw is marked with a piece of masking tape functioning as a depth gage, the ferrule shoulder circumference cut to depth, the waste pared away with gouge and chisel, and final fitting for a tight, drive fit done with the patternmakers rasp. I dont want the ferrule to slide on easily without crushing wood, so I fit it so the ferrule has to be heated a bit to fitcoat the wood tenon with a bit of thickened and dyed epoxywith care in making an epoxy bed at the shoulder so the ferrule wont act as a riving knife and split the wood when struckand drive on the hot ferrule.
Ill also epoxy the chisel sockets later. Why glue them on? Well, thickened epoxy provides a microscopically perfect fit and rock-hard surface, so when the handle is struck thousands of times during its life there will be minimum wood crushing and the resulting camming action that will eventually wear it out. And when it has to be replaced eventually, it is a simple matter to heat the metal to the 110 degrees required to break the epoxy bond. This isnt traditional construction, but it is unlikely that I or even my sons will have to replace these handles again in our lifetimesshort of ball peen hammers and nail cutting.
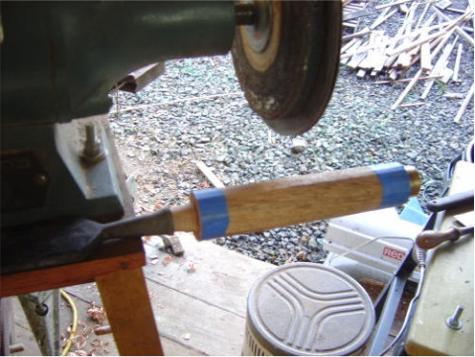
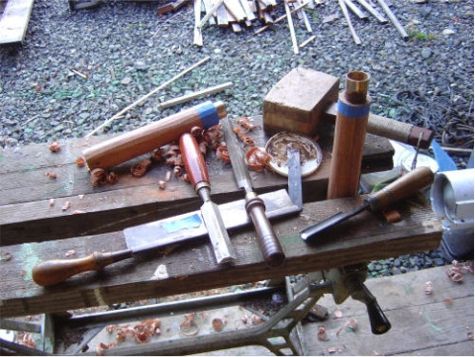
I do a similar operation to fit the chisel sockets. But as these are tapered, I find it convenient to use the sanding disk on the buffer-grinder, driving on the socket occasionally to mark high spots on the wood. You can see the high spots that have to be reduced where the fibers have been crushed shiny by the drive fitbut you can also use sooty smoke from an alcohol lamp burning mineral spirits, Prussian Blue machinist layout paste, or Mamas lipstick to perform the same function.
Next I want to lay out the shape of these 2 diameter handles. As my favorite handle shape is one I used for turning cherry handles for Grandpas old drawknife a couple decades ago, I simply eyeball the proportions for the new handles and lay out my guidelines using masking tape that I will simply slice through during shaping.
The sockets are also driven on with thickened epoxy.
After the epoxy cures, I rough out the shape using coarse spokeshave
Comments (0)
No comments yet. Be the first!
Leave a Comment