Ottoman Chronicle In the Shop With the Love of My Life
by Tim Greif
It's not very often I get to share shop time with the love of my life, but this is a good example of us working as a team, each doing what we know best to make a new and useful item. We decided to venture into upholstered furniture. We'd already re-upholstered an old rocker, so we had some prior experience, but only on re-doing something we could make a pattern from. This time we decided to actually make an ottoman for the family room from scratch. I got to do the tool and wood stuff. The love of my life got to use her sewing talents, which are pretty impressive in my mind.
The sequence below shows the project. We worked well together and had fun doing it. She had no desire to build a box or use the stapler, and I had no interest in sewing. And it turned out pretty well. So get your sweetie in the shop and make something together. I highly recommend it.
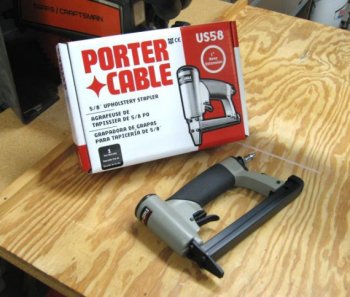
The first picture shows the tool we used for this and the prior upholstery jobs. It's a 22-ga. fine wire upholstery stapler, fires 3⁄8" crown staples up to 5⁄8" length. I found this tool on sale at Amazon for $40 but it normally goes for around $70. Does a great job and is much better for this kind of thing than the 18-ga. ¼" crown staplers you normally see. These staples can be removed easily for repair and re-upholstery without damaging the wood. And yes, I did need to remove some to do some repositioning and fix one or two of my “not quite right” attachments.
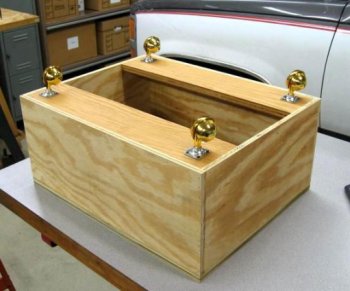
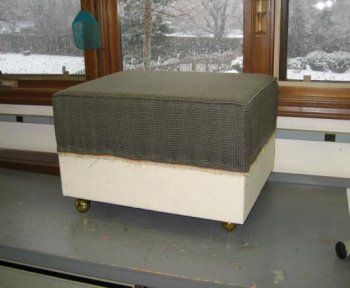
The next pics show the box construction…
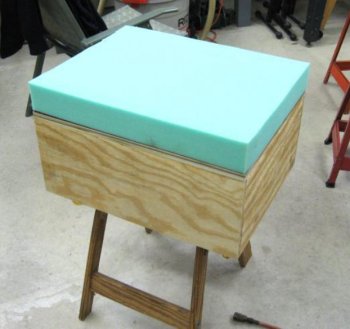
…and the 3" seat foam and batting application. You need the batting or dacron or jute to give the final fabric something to slide against instead of just the wood or foam surface. At least that's what the love of my life tells me. And I always listen to what she tells me, right?
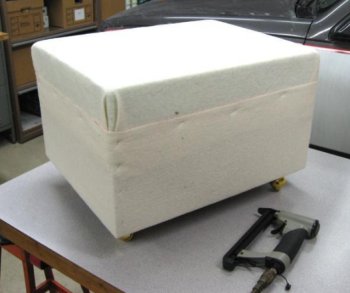
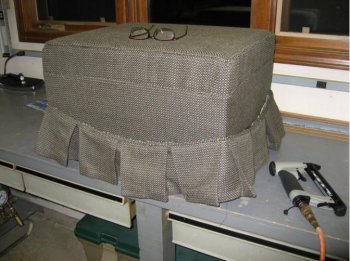
These next three pics show the fabric application. My knowledge of sewing is about as vast as my knowledge of nuclear physics. All I know is Maryanne made the cover in three sections—top, middle panel and bottom pleated skirt.
Each panel was separated by fabric covered welting, the round cord type piping thingy piece of material. She sewed each piece so it fit snugly on the box and I stapled everything in place.
How she was able to sew all this stuff together to fit so well is a complete mystery to me.
The welting needs some support beneath it to give it a straight line edge. You can't really just use staples to do that. You need a strip of cardboard tucked just beneath the welting and stapled in place.
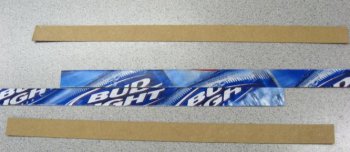
For that, I cut some strips of cardboard from a Budweiser container.
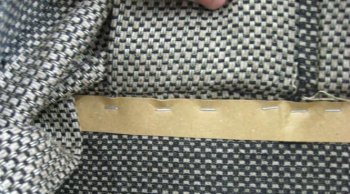
The pics show how it's stapled beneath the welting to establish the straight line. Of course, if you watched those Furniture Guys back in the '90s, you'd know all of this already.
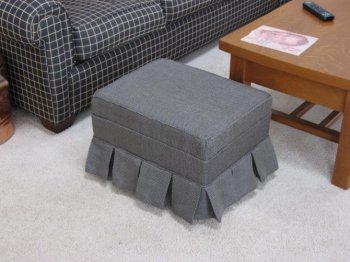
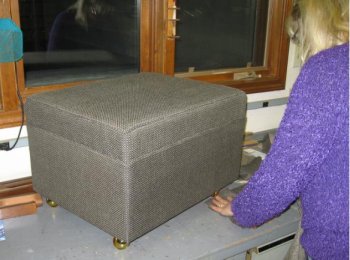
And here's the finished product, ready for use. Now for a woodworking or furniture upholstery project, the difficulty factor of this little gem is probably the equivalent of building a birdhouse. But we had fun and we like it.
Comments (0)
No comments yet. Be the first!
Leave a Comment