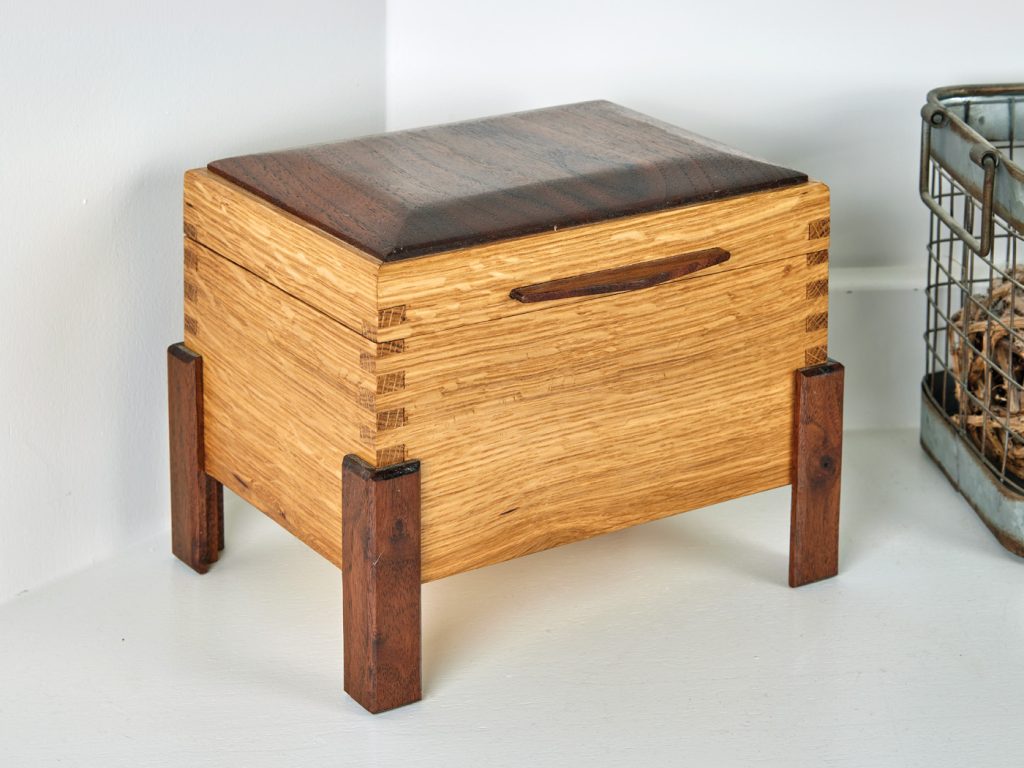
Trinket Box
20 May 2026 at 16:30
I previously made and used an X/Y table on my Delta floor standing drill press. I've since sold that tool and replaced it with a Nova Voyager direct drive drill press.
This post is about making a new (and improved) X/Y table for the new drill press.
 |
| Nova Voyager Press |
The previous table slid on 1/4" thick metal plate guides that slid in slots cut into plywood. With the leverage of threaded rods it worked well enough, but there is plenty of room for improvement. This version runs on linear slides salvaged from an old CNC project.
A little sketching helped me visualize the assembly strategy. There are 3 layers, a top, middle, and a bottom.
 |
| Three Layers |
 |
| Y axis |
 |
| X axis |
 |
| Bolted down |
![]()
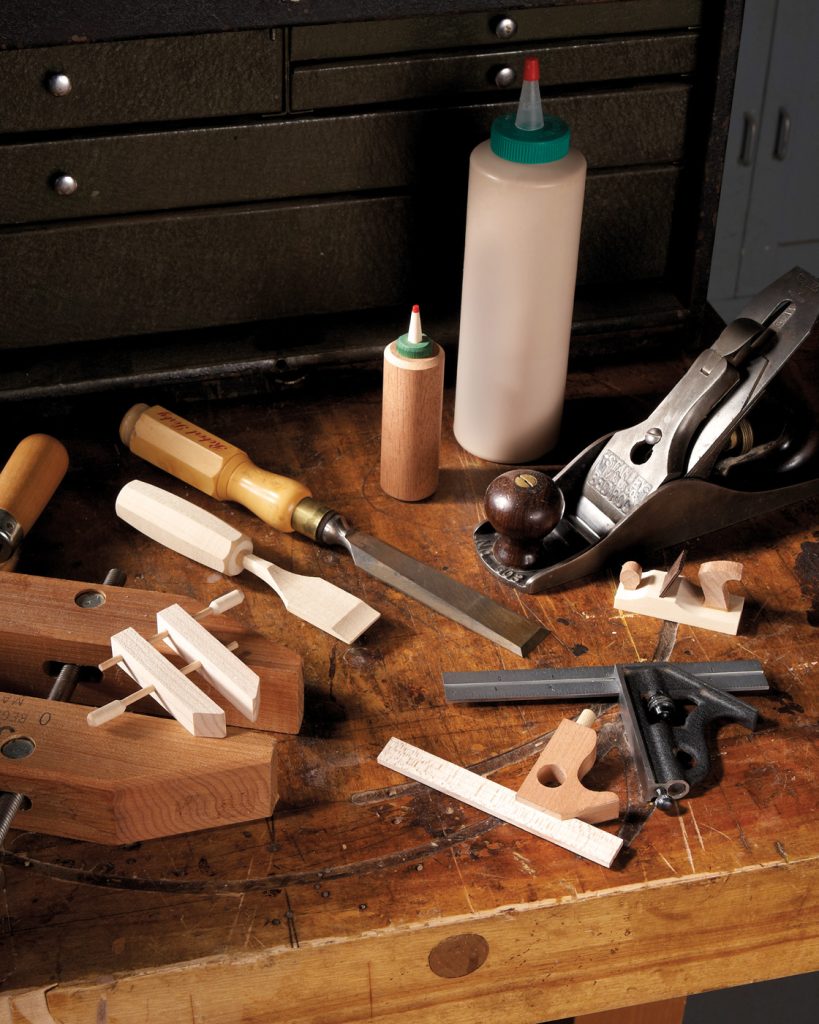
I've made a few wrenches from wood scraps. Time now to see if I can make a wood version of a heavy steel mallet I have. Basically a small sledge hammer.
I had a nice block of dense white oak for the head, and a section of hex shaped oak that was going to be the handle for a tool chest that made a good handle for the mallet.
Using the CNC to cut the top details took some contemplation and experimentation. The hardest part was the chamfer around the edges. The easy parts were the top curved surface and the center hole for the handle. That hole was first drilled out at my drill press, The CNC flared the top of the hole anticipating the wedge that will spread the tenon and trap the handle in place.
 |
| White Oak Mallet Head |
 |
| Old and New |
 |
| Wood sealed |
4D
![]()
 |
| Four clamps conspiring |
A few of the scrap wood blocks in my collection have hinted that they'd like to be clamps. As such this post is about granting that desire and replacing some previous clamps that are near death.
My previous clamps were cut from larger boards, A few were cut as two halves that I glued together. A few were cut from thicker boards, then turned 90 degrees so I could cut the slot for the bolt in them.
The length of these clamps is not critical to their usefulness and can vary.
The first one (upper right) I made from a dense white oak scrap. It suffered a few broke out chips when the bottom edge was flush cut after the CNC was done. It works despite those missing bits.
The second clamp I cut from a scrap of birch (lower left). It also gave me some grief as I made a mistake when clamping the scrap block down. I stopped the CNC after the first pass when I realized that mistake. It works but has a few scars from my bandsaw, drum sander, and disk sander.
The last two clamps were cut from a 5/8" thick scrap of walnut. Room enough for 4 halves that when glued together made two clamps. I added an alignment hole for a 3/4" long section of 1/4"diameter wood dowel to make it easier to clamp the halves together and aligned.
 |
| One Scrap, Four clamp halves |
 |
| Short Ash Clamp |
 |
| Long Ash Clamp |
These clamps hold the work down and also prevent it from moving sideways. Made from wood you don't have to worry if a spinning router bit accidently encounters one. Should one or more be ruined from such encounters making replacements is easy.
4D
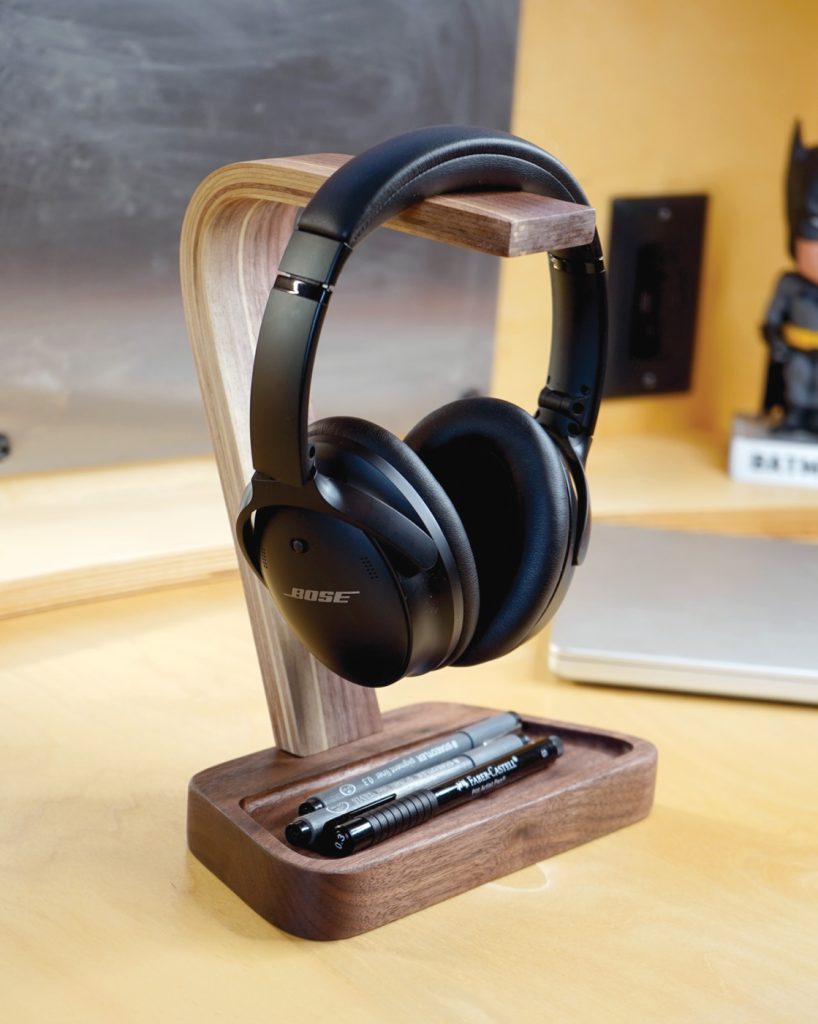
![]()
 |
| New handle. Teak Oil Finish. |
| Plywood Handle |
 |
| Render from my Aspire software. |

 |
| Handle folds out. |
![]()
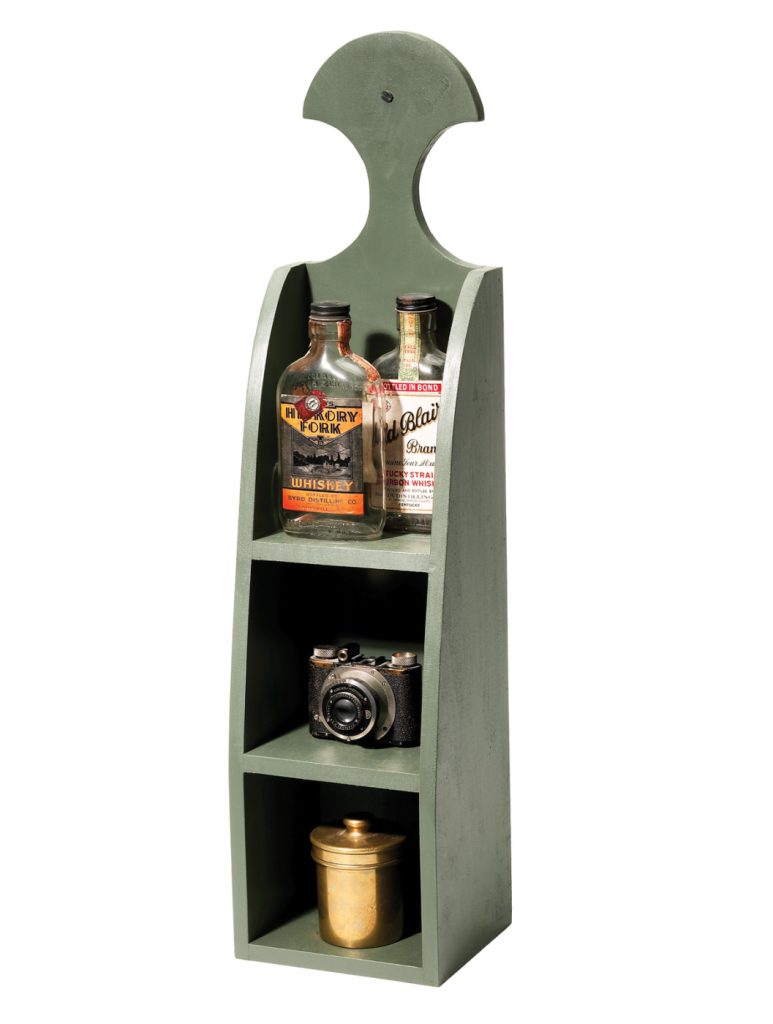
Not all projects take a lot of time or a lot of wood. A little scrap of Bubinga that was headed for the trash bin turned out to be the perfect material scrap for this project.
 |
| Bubinga Scrap |
 |
| T-Square |
A bonus feature is that the ruler can slide through. This allows it to work as a marking gauge.
 |
| Marking Gauge |
 |
| Thumb Screw to lock it in place. |
4D
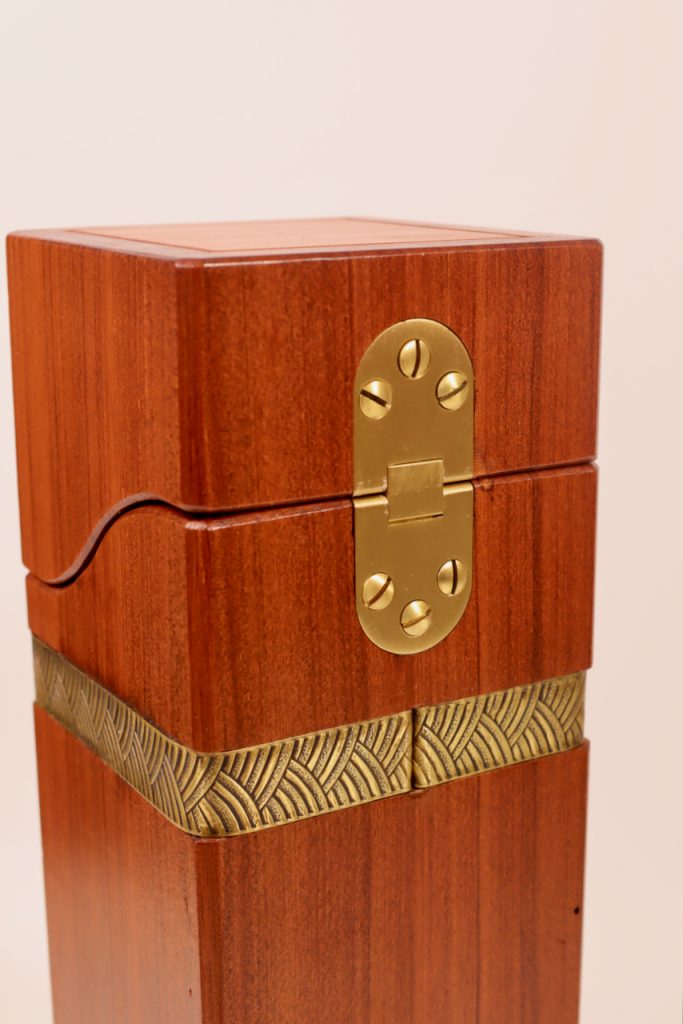
![]()
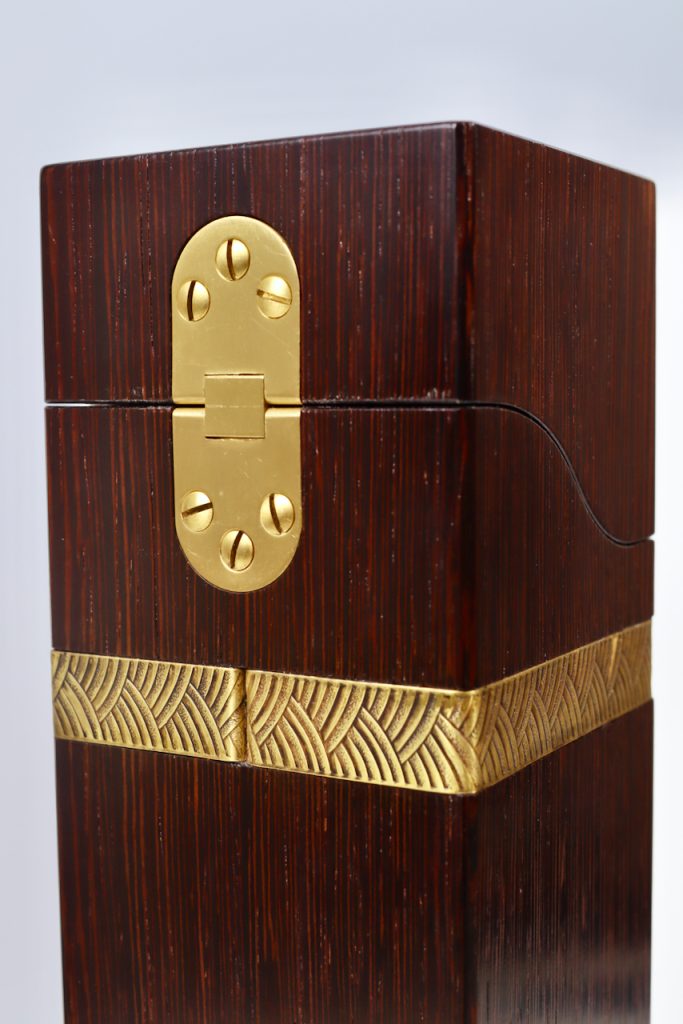
I've had this block of Claro Walnut in my stash for a month or so. Recently it dared me to make something from it.
 |
| Rough Block in Vise |
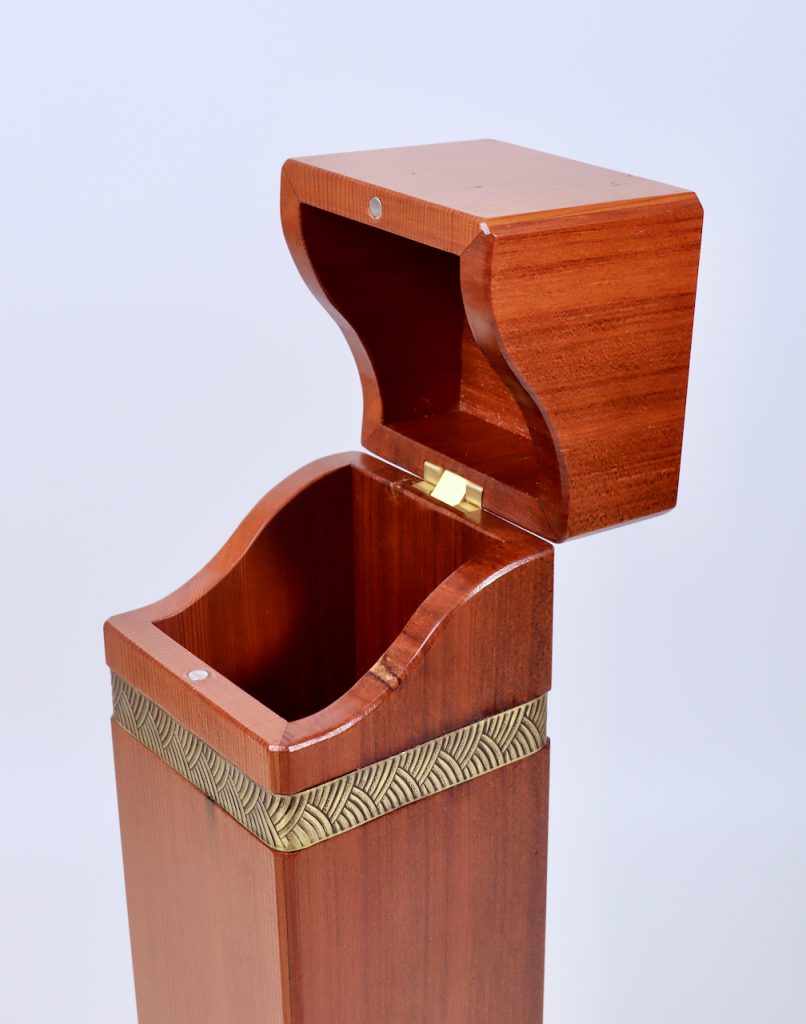
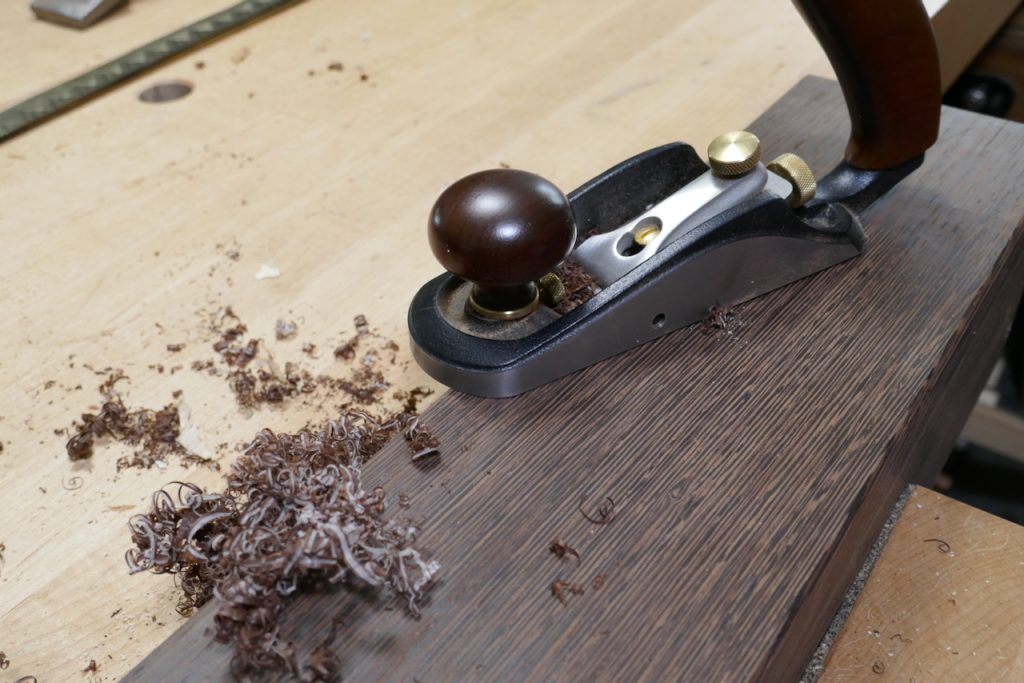
It took a few steps to turn this block into a hinged box. First step was to cut out the inside and then the outer edge using a 1/4" end mill.
 |
| Inside and Outer Edge Done |
 |
| Hinge Slots Cut |
 |
| Rounded Back Edge |
 |
| Ready to Flush Cut |
 |
| Flush Cut. Some Sanding Needed. |
 |
| Lid. CNC Done |
 |
| Bandsaw to free the lid. |
 |
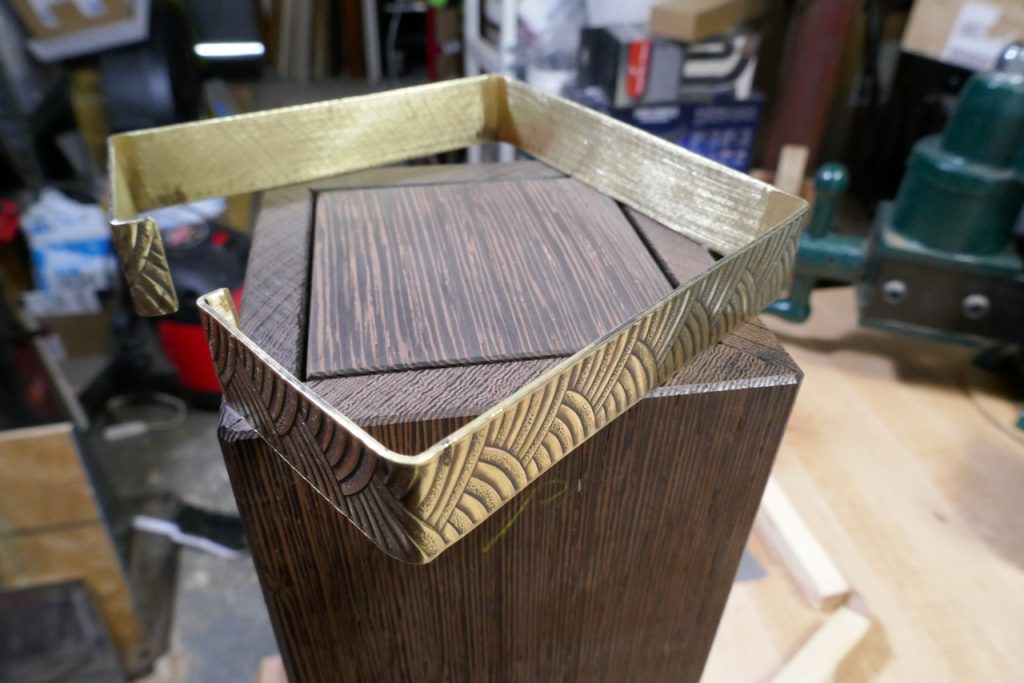
| Flush Cut the Edges |
 |
| Slots align. |
 |
| Lid Attached |
 |
| Lid closed. |
![]()
 |
| Hanging Lamp, Fabric Shade |
A simple lathe turned hub for the bulb socket and power cord, and six lengths of 3/8" hardwood dowel are all the wood parts needed.
 |
| Lathe-Turned Hub |
Making the pattern, cutting out the shade panels, then sewing them together with slots to slip over the dowels was the hard part. I had to remember a few sewing tricks I learned when I was a kid watching my mother sew clothes for family members. The seam edges between each panel are hidden in the dowel slot.
 |
| Light On |
I have 5 of these I made. The hub and the fabric used each slightly different. The lamps have no switch, so I use touch plate switches with each one. The lamps plug into the control boxes for the switch, which then plugs into a wall outlet. In every room where I have one of these lamps the touch plate is set where it is easy to reach.
To drill the holes I used this adjustable angle fixture to hold the lamp hubs under my drill press. I positioned the hub, drilled a hole, rotated it 60 degrees, then repeat 5 more times for each hub. I carefully marked 6 evenly spaced spots on the hub for the center of each dowel hole.
| Jig Rising |
The hubs are 2.5" diameter and vary between 2.5" and 3.25" tall.
It took some drafting skills I learned in high school to figure out the pattern shape for the cloth shade panels. Nothing special about the fabric I used. A couple seem to have faded a bit near the top close to the bulb. When assembled there is a gap between the hub and the cloth for any heat from the bulb to rise up through.
I now have a rotary axis on my CNC, so making the hubs is an easy repeatable step should I want to make any more. While I can't drill angled holes on the rotary axis, I can have the CNC mark where each dowel center is before taking it off the rotary axis. The shape could also be a hexagon rather than a cylindrical lathe turned shape. This would tighten up the detail continuity of the design. With flat sides rather than a round shape it would be easier to drill the holes for the dowels accurately. The hub shape could also be modified to better relate to any pattern the chosen fabric may have. Choosing the fabric before finalizing the hub shape is recommended. Or simplify it to intentionally not compete with the detail in the fabric.
The shade panels are 12.25" tall + another inch for a half inch hem on top and bottom. 12.75" from seam to seam on the bottom edge 2.5" from seam to seam on the top edge. Extra is needed for the slots for the dowels. The dowels angle down from horizontal roughly 35 degrees. 55 degrees up from the vertical axis of the hub. These specifications are all arbitrary. You could change the slope and size of the shade.
I may make one more as I have a box of fabric scraps, plenty of wood to make a hub, and several 3/8" dowel sections that need a project to justify their existence. Perhaps I could use a different fabric for each panel to make the shade, eh?
Finding the right socket and cord hanging lamp kit is the last challenge. Mine have a 15' cord. Most I've seen are designed to hang with just a decorative bulb. Too much unneeded plastic around the socket.
Some lathe turning, hole drilling and sewing skills required for these hanging lamps. A fun and creative project given the variety of available fabrics out there and fairly common light hardware used. I recommend using a dimmable LED bulb that will work with the touch pad switch. Not all LED bulbs are the same.
Comments welcomed!
4D
![]()