It’s hard to fathom, but finger joints are a relatively new joinery method for Frank Klausz, because why not just cut dovetails when you need a box? In fact, when...
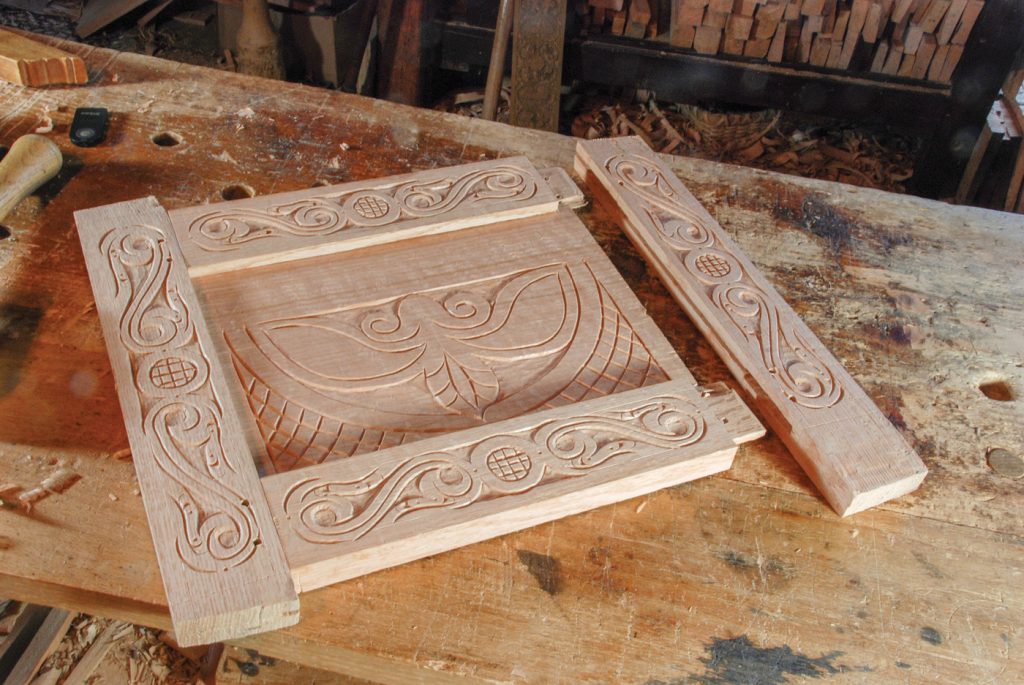
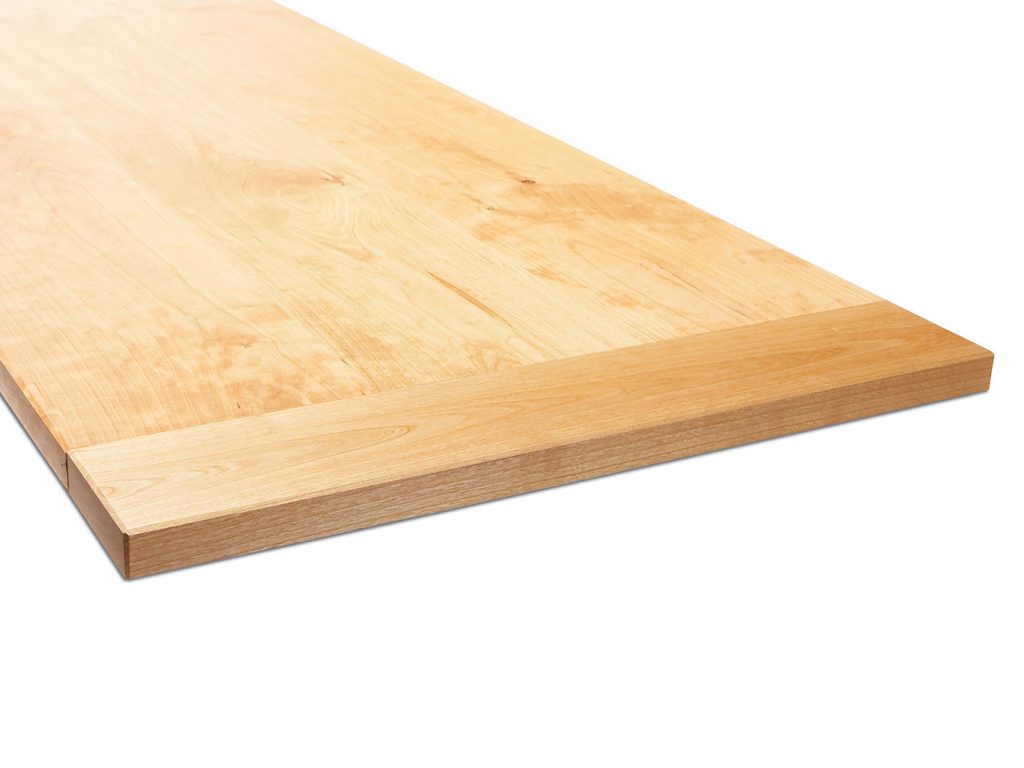
Cut precision joints on a large top. Breadboard ends are old devices for improving a solid-wood top. They act like cleats to hold the top flat, which is particularly important...
This is another test corner joint. It uses a 1/8" end mill rather than a 3/16" end mill to cut both sides. The same initial vector was used for both sides. For the male side a perimeter line around the end was added so it would pocket out the surrounding wood. On the female side a profile beside the line and clearing profile on the line were used to cut the negative shapes.
Female Side. Walnut
For contrast the female side was cut on the top end of a walnut board. The male end was cut on end of an oak board.
Male Side. Red Oak
Not knowing how exact the dimensions of the bit used were, I made two toolpath versions of the male side. One with no added allowance, and the second removing an additional 0.003" to allow for some glue room if the first toolpath was too tight.
The female side was cut first, clamped vertically in my Bridge Vise. The impractical aspect of such joints done with a 1/8" bit is that it take several passes and considerable time to step down 3/4" around and inside the diamond shapes.
The male side was cut clamped flat across my bridges with its end hanging over open space. After it finish I checked the fit and found it too snug to slip together easily. I made a profile pass with a .003 allowance and recut the end. Second try the other side slipped on smoothly with no extra force needed.
Both Sides Cut.
The straight grained oak helps emphasize the contrast.
Nice Contrast
Partly together.
Almost
Fully together.
Fit is perfect with a 0.003" gap for glue.
Once glued together, sanded, and with some finish applied this joint would be a nice surprise to discover on the sides of a kitchen drawer when opened. It should easily be as strong as a dovetail corner joint.
With one coat of Tung Oil
The interlocking diamond pattern might be nice for the corners of a jewelry box. With a 1/8" bit as long as your boards are thick many variations can be made for corner joints like this one. Imagination, knowing how to configure a CNC for vertical (and angled) cuts, and some understanding of wood properties are all that is required.
This joint, cut on my CNC, could easily replace half blind dovetail corners for strength. It can only be assembled in one direction. It won't pull apart sideways. As with many of the CNC joints I've come up with it uses the same vector for both sides of the joint. One side is cut on the end of a board clamped vertically.
Side A. Clamped Vertically
The other side is cut on the end of a board clamped horizontally.
Side B. Clamped Flat.
This joint is half blind, showing only on one side of the corner.
All the corners are rounded to account for the 3/16"diameter end mill used to cut the joint. A sharper cornered version could be cut with a 1/8"diameter bit if the cutting length of the bit was as long as the boards are thick.
This sample I made from some pine board scraps. When both sides were cut they slipped together easier than I expected. This suggests that the bit I used was a little bit larger than .1875" in diameter. More than enough room for some glue.
Sample Ready to Assemble
The positive and negative sides together look a bit like a zipper.
Partly Together
Drawer sides would be a good place to use this joint. A drawer that holds sewing supplies would be a perfect application for it!
Glue Together and Sanded Flush
As with dovetail joints, the spacing between squares could be varied for a more personal design. Your imagination and the size of router bits available are the only limiting factors.
I found this joint sample hiding in a box of CNC-cut joinery samples I made for students to consider when designing their project.
For Low Angle Corners
One half slides into the other half.
Not quite as simple as it looks to cut
I endeavored to figure out how to connect wood pieces at any angle with a CNC-cut joint while I was teaching. This is an extreme sample that I don't remember ever using for a student project. The left half in the photo above is the complicated one to cut. The sides taper in as the bottom of the dovetail is narrower than the top.
This sample will return to the box I found it in to wait hopefully for the day when it can come out to inspire a real corner connection on an actual project.
Battens: Just one proven method to keep you on a level playing field. The best way to keep a tabletop flat is to make it flat in the first place and to attach it properly to a rigid frame, …
I've been working on my sharpening for a few months now and I can definitely tell I'm improving, but I'm still not getting consistent results. I'm using a combination stone and trying to maintain angle with just my hands, no honing guide. I can feel when I'm hitting the bevel but I think my angle wanders during the stroke, especially on the higher grit side.
Is this just a practice thing where I need more reps to build muscle memory? or should I break down and get a honing guide to at least...
Been woodworking for about 2 years and still can't get consistent mortise and tenon fits, its either they're too fit and I risk splitting when I assemble, or they're sloppy and I'm relying too much on glue. Using a mortising chisel and cutting tenons with a tenon saw and shoulder plane, measuring everything carefully but something is off with my process. Do you guys cut tenons to fit specific mortises or aim for a standard and adjust? watching videos makes it look so straightforward but I'm...
I've been practicing hand cut joinery for about 6 months now and my through dovetails looked quite okay, but these half blind ones for the box is giving me a bit of trouble and I'm still getting small gaps, especially at the corners where the baseline meets the sides. When I try to fix it by paring more, I just make it worse and get slop. I know it's probably a skill thing and just takes practice, but man, looking at my attempts is depressing lol. Should I just accept gaps and fill with...
I want to start to learn wood carving, not joining any class, just watching a few beginner tutorials on youtube.
I have a few butternut & Pine woods. I heard they’re good for carvings
What I want to know is how to prepare them for carvings?
Is there something I should do to make the logs easier to carve?
Hit me with your pro tips, thanks!
Started woodworking about a year ago and went straight to a Kreg jig for most of my projects. I've built some decent looking stuff like bookshelves, a coffee table, nightstands and everything has held up fine but I keep seeing comments online about how pocket holes are cheating or not real joinery.
Here's my dilemma, I can knock out a project in a weekend with pocket screws but learning mortise and tenon or dovetails would mean spending weeks on technique before I even finish something...
From butt joints to dovetails, every builder should know these essential woodworking joints —and when to use each one. The following is a small sample from the book The Complete Starter Guide to Making Wooden Boxes, written by Albert …
I bought a 6 drawer maple dresser off Facebook Marketplace for $40 and it's a good score except for a few loose joints hidden under wood plugs. Some plugs are flush while others are sunk too deep to grab. I'd rather not refinish the whole thing. Any smart ways to remove the plugs without tearing them up?
my dad's carving a wood and ran into a problem with Odie's Oil on his detailed carvings (like tiny eyes, hair texture, etc).
The regular stuff is so thick, he was worried about it gooping up all the fine details when you wipe it off.
He called the company, and those guys were super helpful! they recommend not to use the original Odie's!
They told him to grab their thinner version, the Odie's Super Duper Oil (funny name lol).
here's what my dad does; he brushes on a thin coat. get it into...


:max_bytes(150000):strip_icc():format(jpeg)/121808_makingdowels-ef8a1fecb7f84d478ffa15fed12fa1f5.jpg)
:max_bytes(150000):strip_icc():format(jpeg)/100836949-bcdb694368de41f5ab4618ce500044ae.jpg)